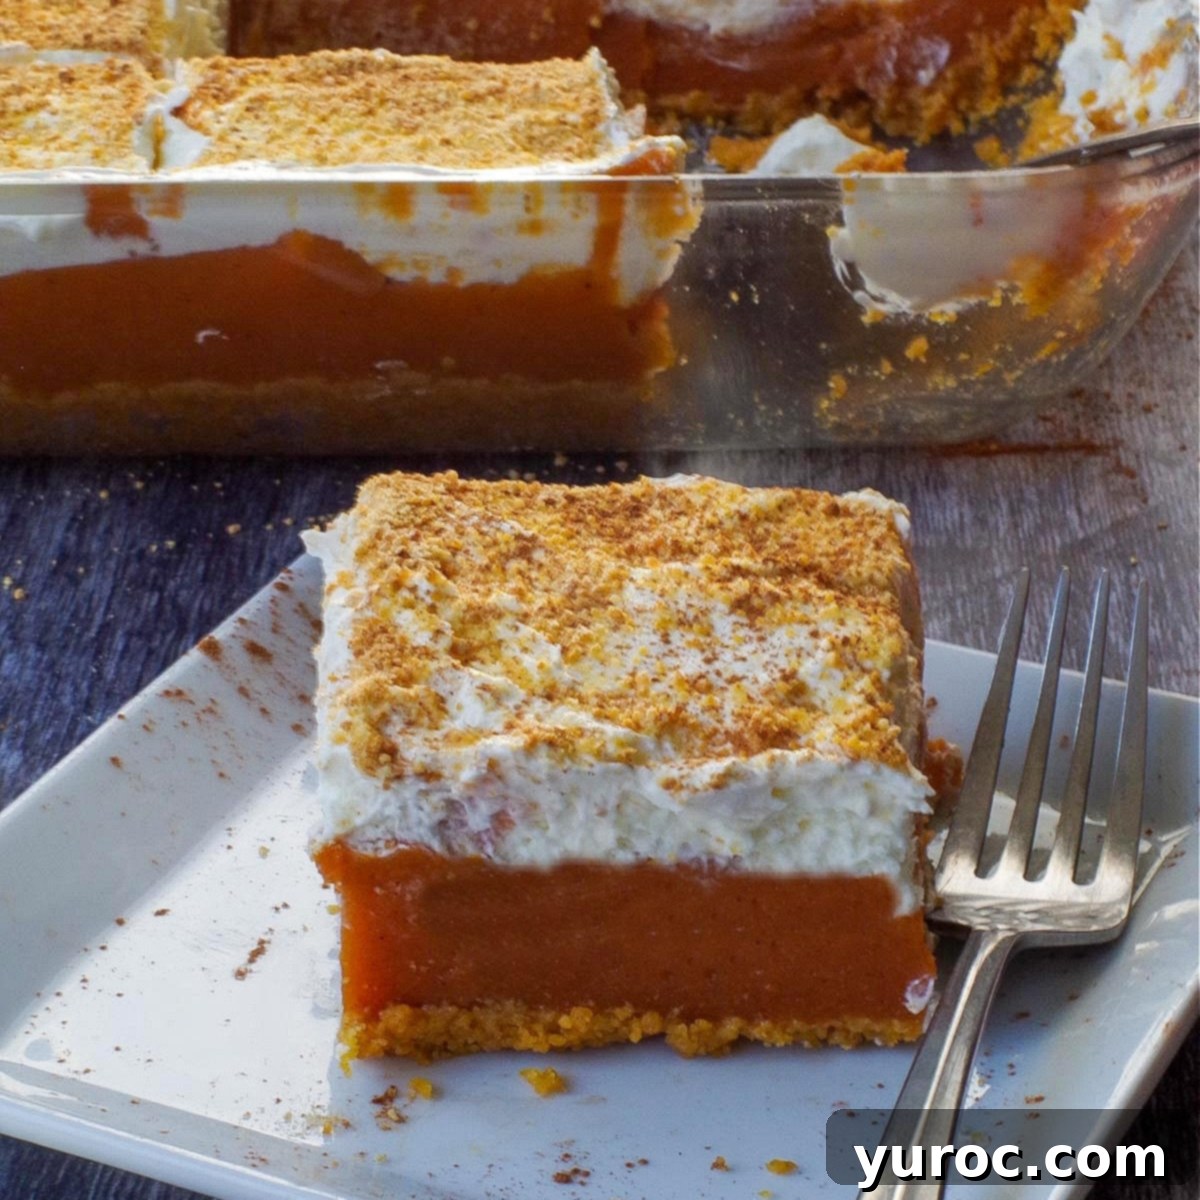
Effortless Layered Pumpkin Delight: Your Go-To No-Bake Fall & Holiday Dessert
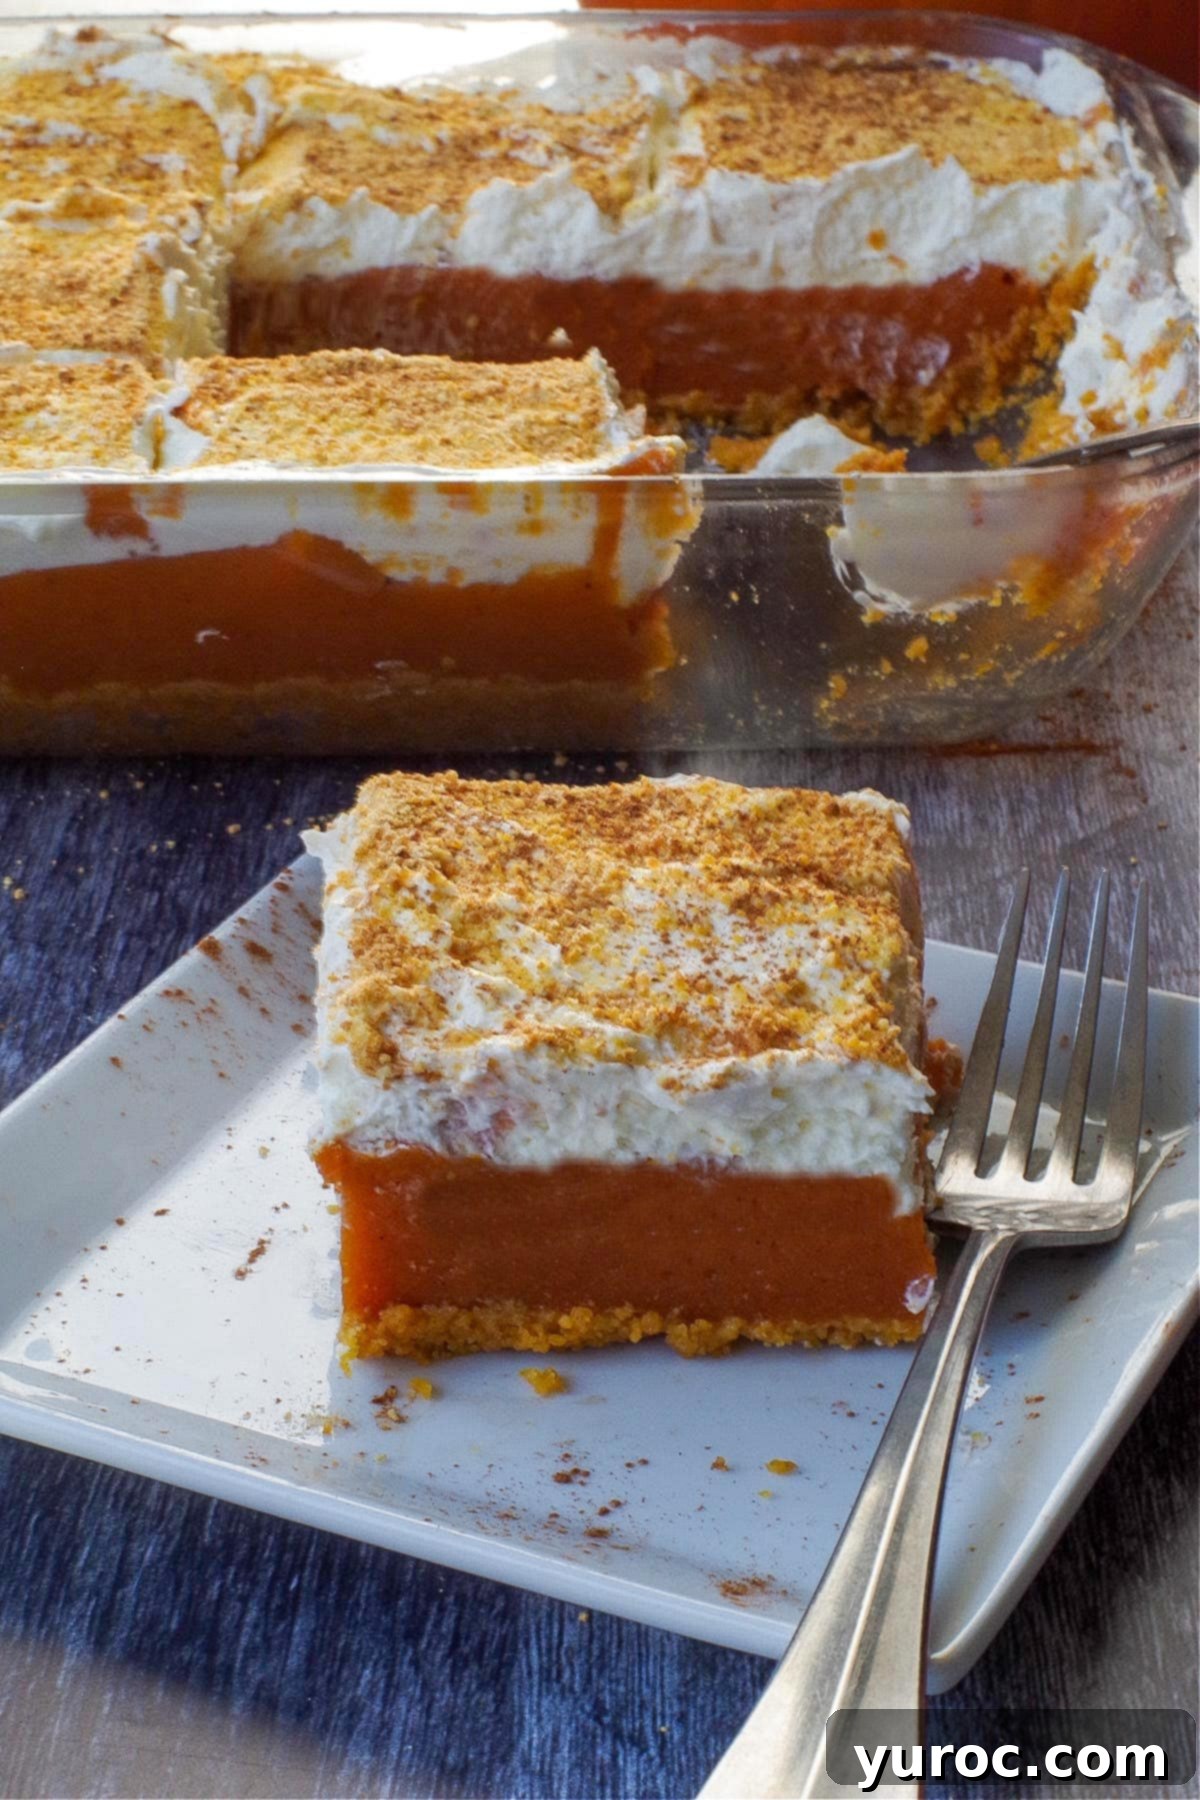
Get ready to impress with this **Easy Layered Pumpkin Delight Recipe**, a truly unique and incredibly simple dessert that captures the essence of fall and the festive spirit of the holidays. This delightful creation features three distinct layers: a buttery graham cracker crust, a velvety smooth pumpkin filling, and a generous topping of light and airy whipped cream. It’s a decadent treat that offers all the comforting flavors of classic pumpkin pie, but with significantly less effort and a much quicker preparation time. Perfect for any pumpkin enthusiast, this recipe promises to be a new family favorite!
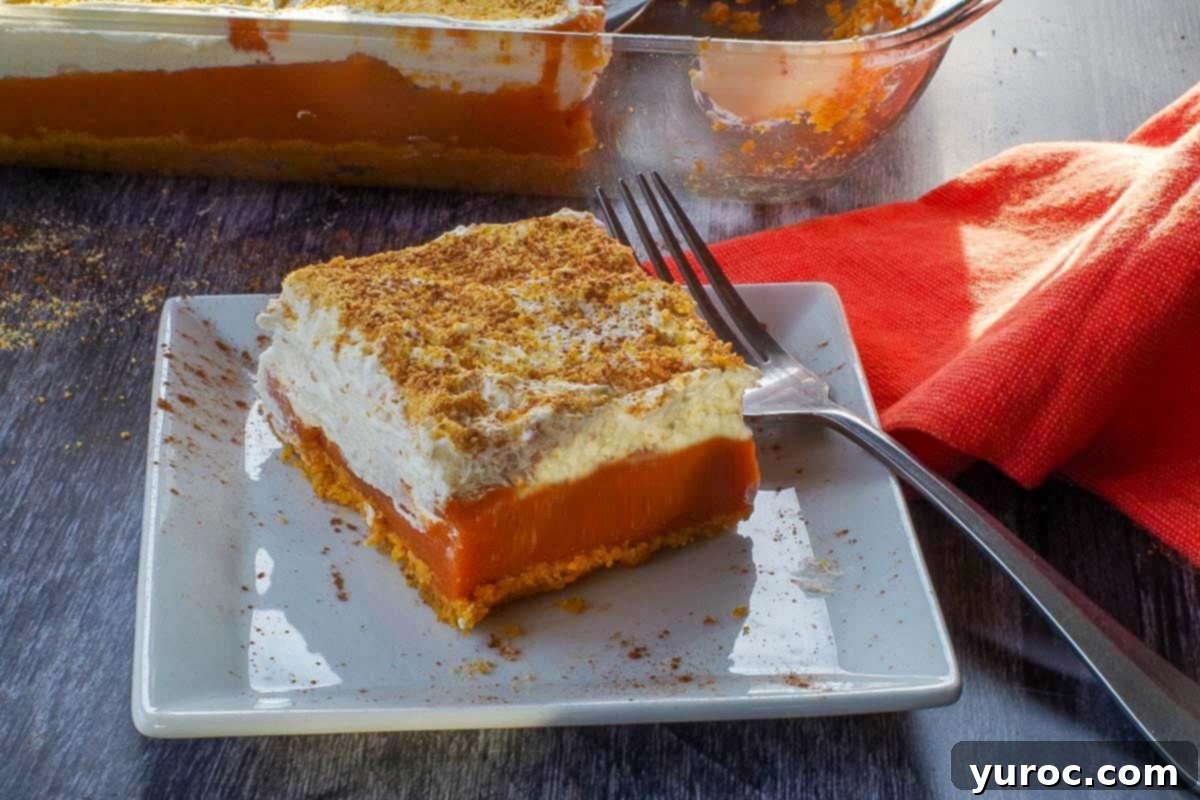
As autumn leaves begin to fall and the holidays approach, this canned pumpkin dessert becomes a popular choice for good reason. It draws inspiration from my beloved Prize Pumpkin Pie, offering a fantastic alternative to traditional pies without compromising on flavor. This pumpkin delight is an ideal complement to any festive spread, especially Thanksgiving dinner, pairing wonderfully with a succulent turkey, savory stuffing, creamy mashed potatoes, crisp green beans, and even a refreshing Caesar salad (hold the chicken, of course!). We served this at our last Thanksgiving celebration, and it was an absolute hit with everyone at the table.
[feast_advanced_jump_to]
Why You’ll Adore This Easy Pumpkin Delight Recipe
If you’re searching for a simple yet show-stopping dessert for the fall season, look no further. This Pumpkin Delight offers numerous advantages that will make it your preferred choice for gatherings and everyday treats alike:
- A Wonderful Alternative to Traditional Pumpkin Pie. Say goodbye to the fuss of making delicate pastry crusts! This recipe eliminates the stress of rolling, chilling, and crimping, making it a perfect solution for those who love the taste of pumpkin pie but prefer a more straightforward dessert. You still get that iconic pumpkin flavor without the extra work.
- Delivers Authentic Pumpkin Pie Flavor. Despite its simpler construction, this layered dessert tastes remarkably similar to a classic pumpkin pie. The carefully balanced combination of pumpkin puree, warming spices, and a unique marshmallow element ensures that familiar, comforting taste that everyone craves during the holidays. You won’t miss the traditional pie!
- Effortlessly Feeds a Crowd. A single 9×13 inch pan of this Pumpkin Delight provides approximately double the servings of a standard 9-inch pumpkin pie, making it an excellent option for larger family gatherings, potlucks, or holiday parties where many mouths need satisfying. It’s designed for sharing!
- The Ultimate Potluck Dessert. Not only does it yield a generous amount, but this layered pumpkin dessert also travels exceptionally well. Its sturdy layers make it easy to transport without fear of it falling apart. Once at its destination, it can be neatly cut into smaller, perfectly portioned squares, ideal for serving alongside other dishes.
- Requires Only 5 Minutes of Baking Time. If you’re looking for a dessert that’s mostly no-bake, this is it! Only the graham cracker crust needs a brief 5-minute stint in the oven, allowing it to set and become wonderfully crisp. The pumpkin filling and whipped cream layers are entirely no-bake, saving you precious oven space and time.
- Incredibly Versatile for Any Occasion. While it shines brightly as a centerpiece for Thanksgiving or Christmas, this pumpkin delight is equally fitting for any fall or winter holiday meal, a cozy Sunday night dinner, or even a simple gathering with friends. Its comforting flavors make it suitable for a wide range of festive and casual occasions.
If you’re continuously on the hunt for more pumpkin pie alternatives, you absolutely must try my Light Pumpkin Cheesecake for another delightful twist on a classic fall flavor!
🥘 Essential Ingredient Notes for the Perfect Pumpkin Delight
Many layered pumpkin desserts often include a cream cheese layer, earning them names like “pumpkin lush” or “pumpkin dream.” However, this particular recipe is designed for simplicity and doesn’t require cream cheese, making it easier and quicker to assemble. Here’s a breakdown of the key ingredients you’ll need and some important considerations for each:
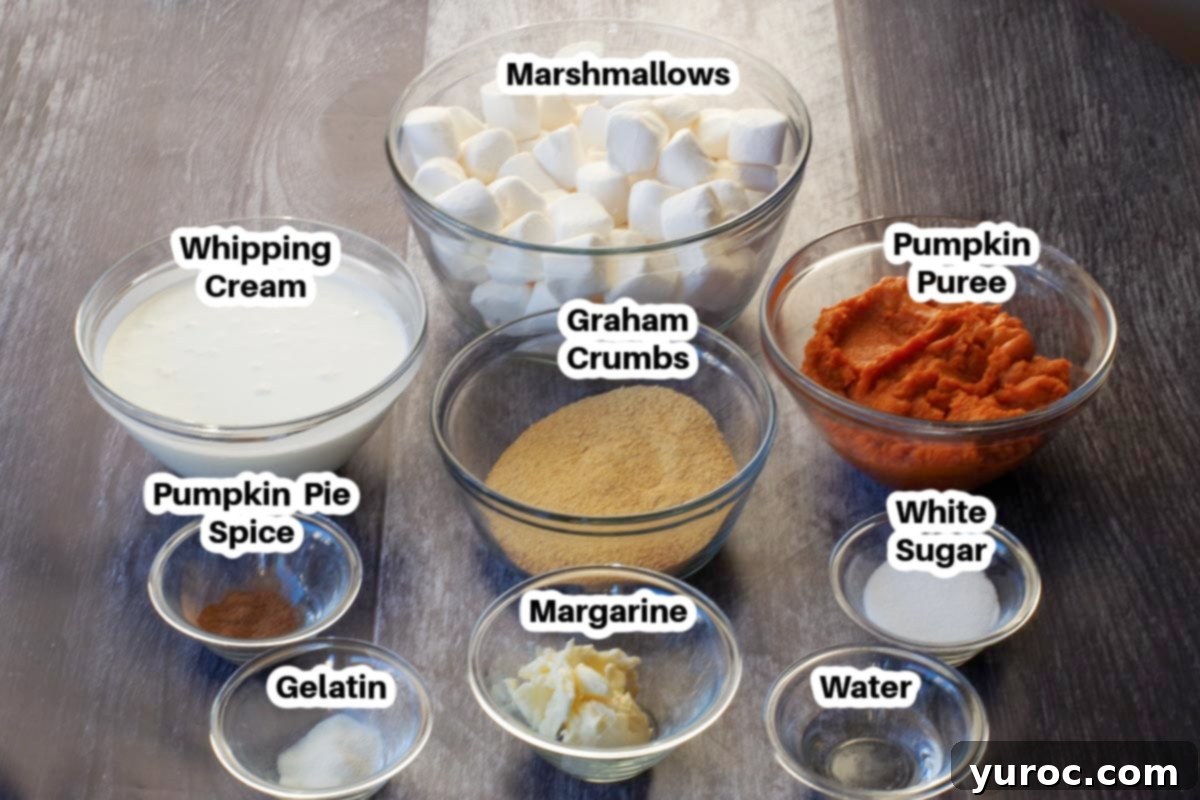
- Graham Cracker Crumbs: The foundation of our delightful crust. For the best flavor and texture, I highly recommend using a popular, well-regarded brand (such as Honey Maid) rather than generic or no-name brands. The quality of the graham cracker crumbs can significantly impact the overall taste and crispness of your crust, ensuring it stands up beautifully to the moist filling.
- Marshmallows: These are the secret ingredient that beautifully sweetens the pumpkin layer and contributes to its unique, almost custardy texture. When melted and combined with the pumpkin puree and spices, marshmallows ingeniously mimic the rich, sweet profile found in traditional pumpkin pie, providing both sweetness and structure without adding extra sugar.
- Pureed Pumpkin: It is absolutely crucial to use pure canned pumpkin puree, not pumpkin pie filling. Pumpkin pie filling is already sweetened and spiced, and using it in this recipe would result in an overwhelmingly sweet and unbalanced dessert. Always check the label to ensure you’re getting 100% pure pumpkin.
- Pumpkin Pie Spice: This convenient spice blend is a powerhouse of flavor, containing a harmonious mix of cinnamon, nutmeg, ginger, and cloves. Using a pre-mixed pumpkin pie spice means fewer individual spices to measure out, streamlining your preparation and ensuring a consistently delicious, warmly spiced pumpkin layer every time.
- Clear Gelatin: This is a non-negotiable ingredient for the pumpkin layer. Gelatin is essential for helping the pumpkin filling set properly, giving it a firm yet smooth consistency that can be neatly sliced. Without it, your pumpkin layer would be too runny and challenging to layer or serve.
- Whipping Cream (Heavy Cream): For the luscious topping, you’ll need heavy whipping cream with a fat content of 33% to 36%. This higher fat content is crucial for achieving light, fluffy, and stable whipped cream with stiff peaks that hold their shape beautifully on top of your dessert.
Refer to the complete recipe card below for exact quantities and detailed instructions.
📖 Exciting Variations & Smart Substitutions
This Easy Pumpkin Delight is wonderfully adaptable, allowing you to tailor it to your dietary needs, personal preferences, or what you simply have on hand. Don’t hesitate to get creative with these delicious twists:
- Pumpkin Options: While canned pumpkin puree offers convenience, you can certainly use freshly made pumpkin puree. If opting for fresh, ensure it’s cooked, blended until silky smooth, and drained of any excess liquid to prevent a watery filling.
- Whipped Topping: For a quicker and often lighter alternative to homemade whipping cream, feel free to substitute a store-bought whipped topping like Cool Whip. This is a great time-saver, especially if you’re preparing for a large gathering.
- Fat for the Crust: Instead of margarine, melted butter can be used for the graham cracker crust. Butter will impart a richer, nuttier flavor, which many find adds an extra layer of deliciousness to the base.
- Dairy-Free Delight: To make this dessert suitable for those with dairy restrictions, simply swap the margarine for a vegan margarine and use a dairy-free whipped topping (many brands of Cool Whip are naturally dairy-free, but always check labels).
- Crust Adventures: The graham cracker crust is classic, but you can experiment! A chocolate crust, made by using chocolate baking crumbs, adds a delightful cocoa dimension. Alternatively, a gingersnap crust, created by crushing or grinding ginger cookies in a food processor, will introduce a warm, spicy kick that perfectly complements the pumpkin.
🔪 Crafting Your Easy Pumpkin Delight Dessert: Step-by-Step
Making this layered pumpkin delight is a breeze, involving just a few simple steps. Let’s break down the process to ensure your dessert turns out perfectly every time.
Prep Work: Begin by preheating your oven to 375 degrees F (190 degrees C). This ensures it’s ready for the quick crust bake. Then, lightly spray a 9×13 inch baking pan with non-stick cooking spray to prevent sticking and make serving easier.
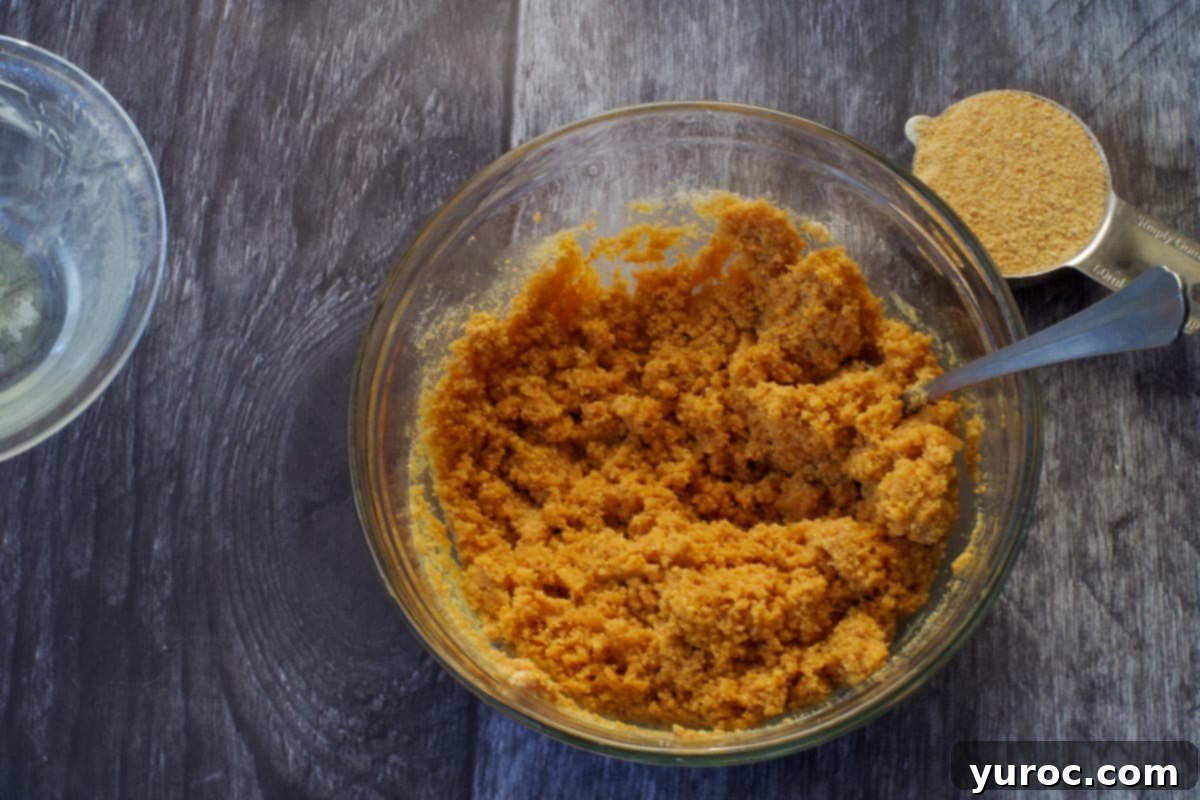
- Step 1: Create the Flavorful Base: In a medium bowl, combine the graham cracker crumbs with melted margarine and one tablespoon of white sugar. Mix thoroughly until the crumbs are evenly moistened and resemble wet sand. This ensures a cohesive crust. *Important: Remember to set aside ¼ cup of this graham crumb mixture; it will be used later as a delightful topping!
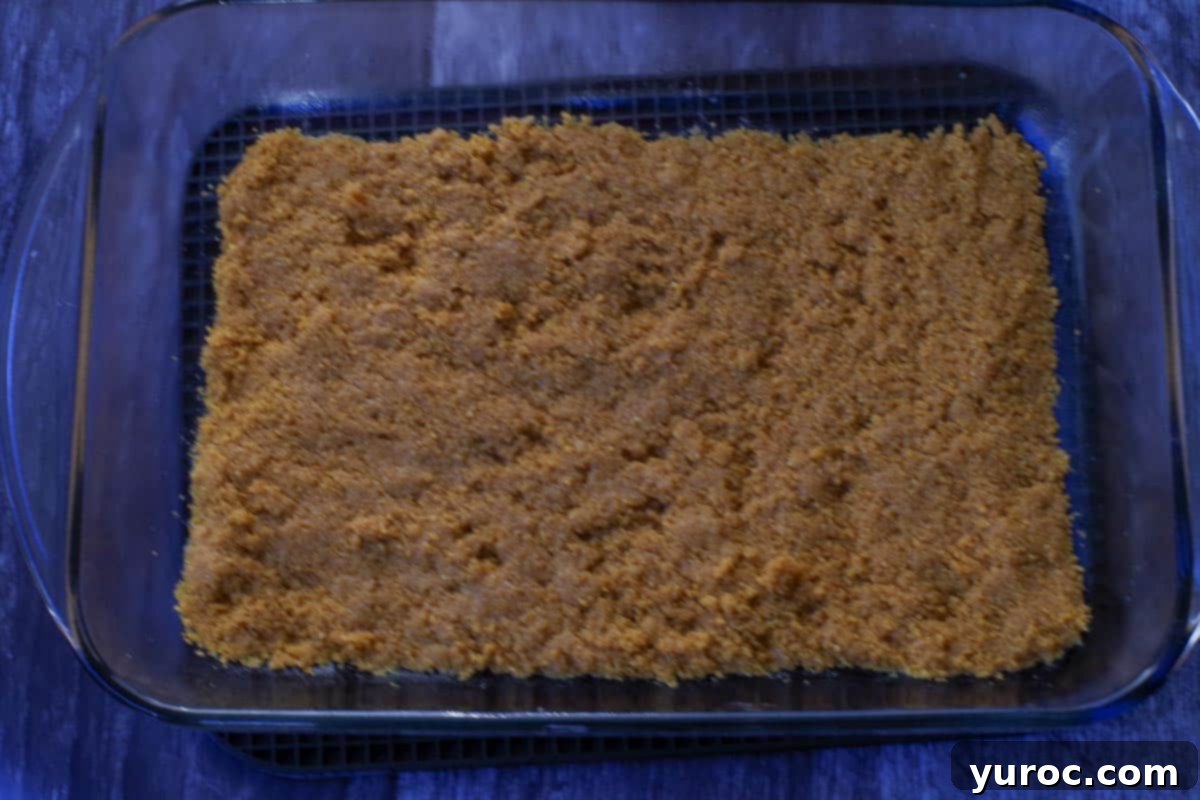
- Step 2: Bake the Crust: Firmly press the graham cracker mixture evenly into the bottom of your prepared 9×13 inch pan. You can use the back of a spoon or your fingers. Bake for just 5 minutes in the preheated oven. This brief bake time helps set the crust and makes it delightfully crisp. Once baked, remove it from the oven and allow it to cool completely while you prepare the filling.
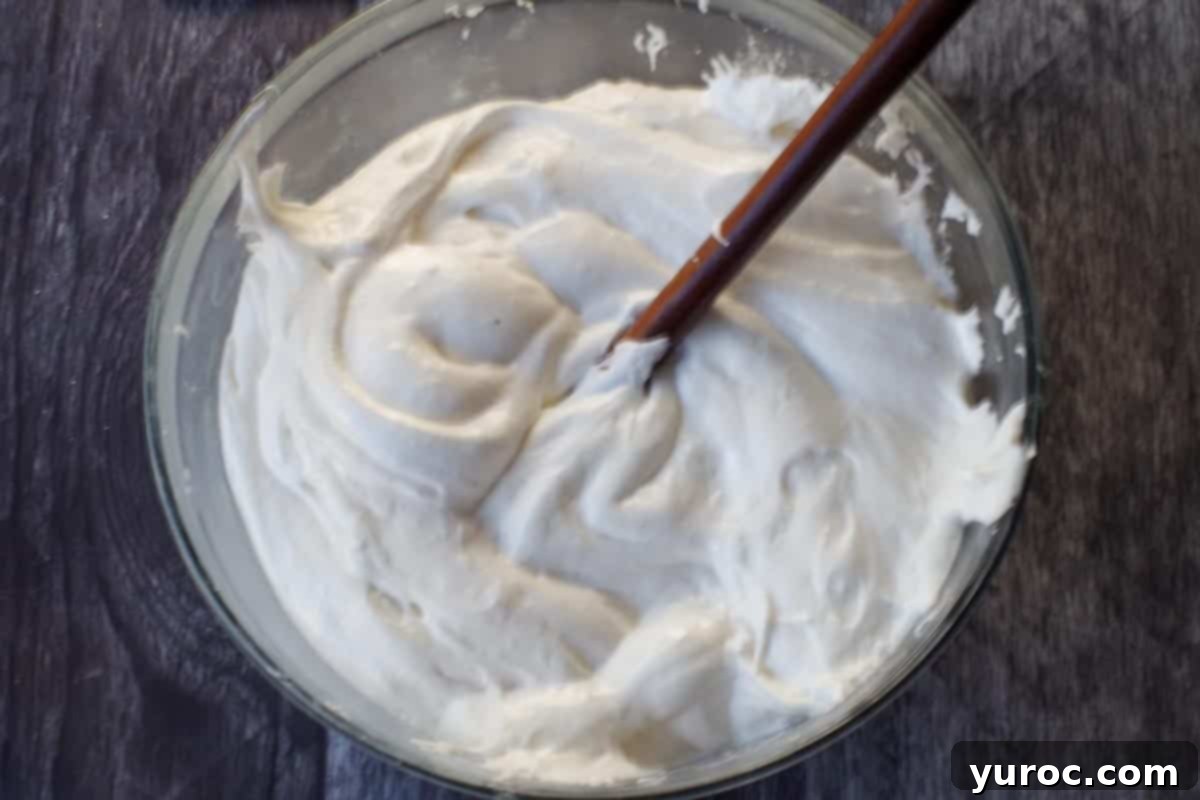
- Step 3: Melt the Marshmallows for the Pumpkin Filling: In a large, microwave-safe bowl, combine the marshmallows with ½ tablespoon of water. (See our “Top Tip” below for a clever trick to prevent sticking!). Microwave on half power (50%) for 2 minutes. Carefully remove and stir. Marshmallows get very hot, so be cautious. If not fully melted and smooth, return to the microwave at 50% power for additional 30-second intervals, stirring thoroughly after each, until perfectly melted and gooey.
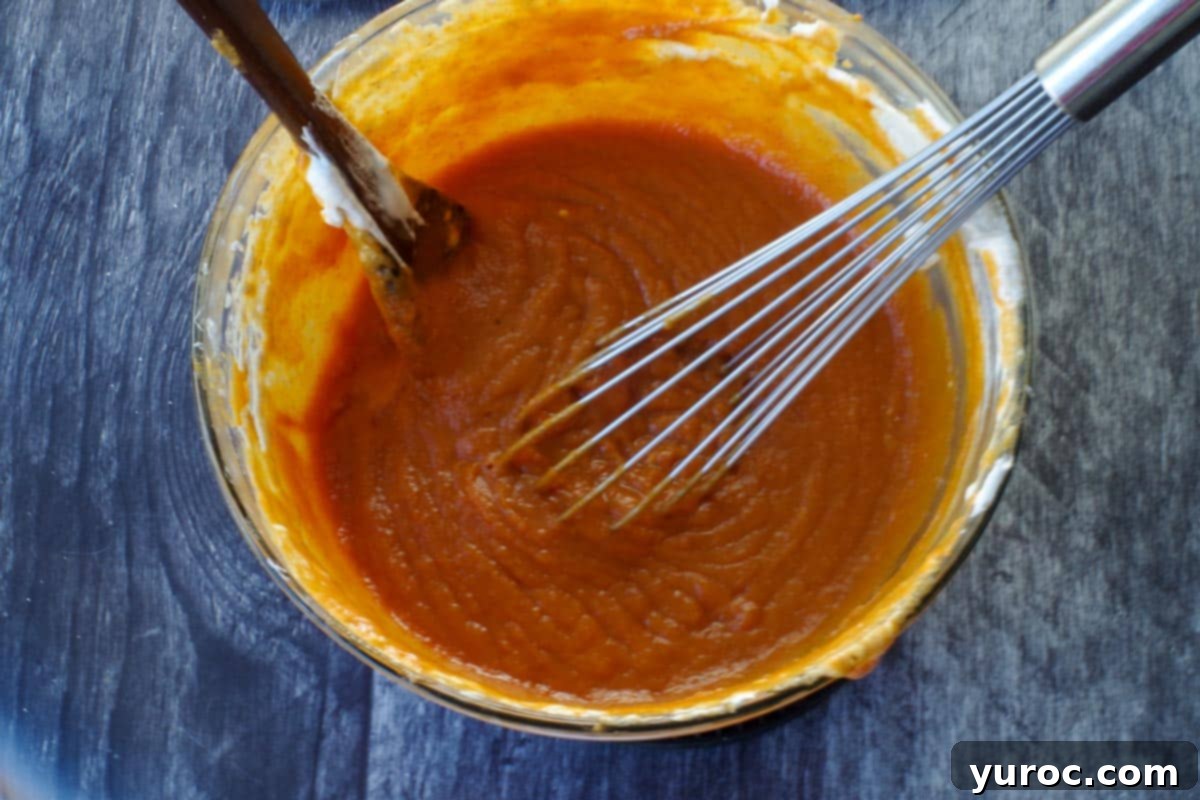
- Step 4: Combine Pumpkin and Marshmallow Mixture: Into the bowl with your melted marshmallows, add the pure pumpkin puree and pumpkin pie spice. Whisk all the ingredients together thoroughly until the mixture is completely smooth, well-combined, and takes on a beautiful, uniform orange hue. This forms the delicious core of your dessert.
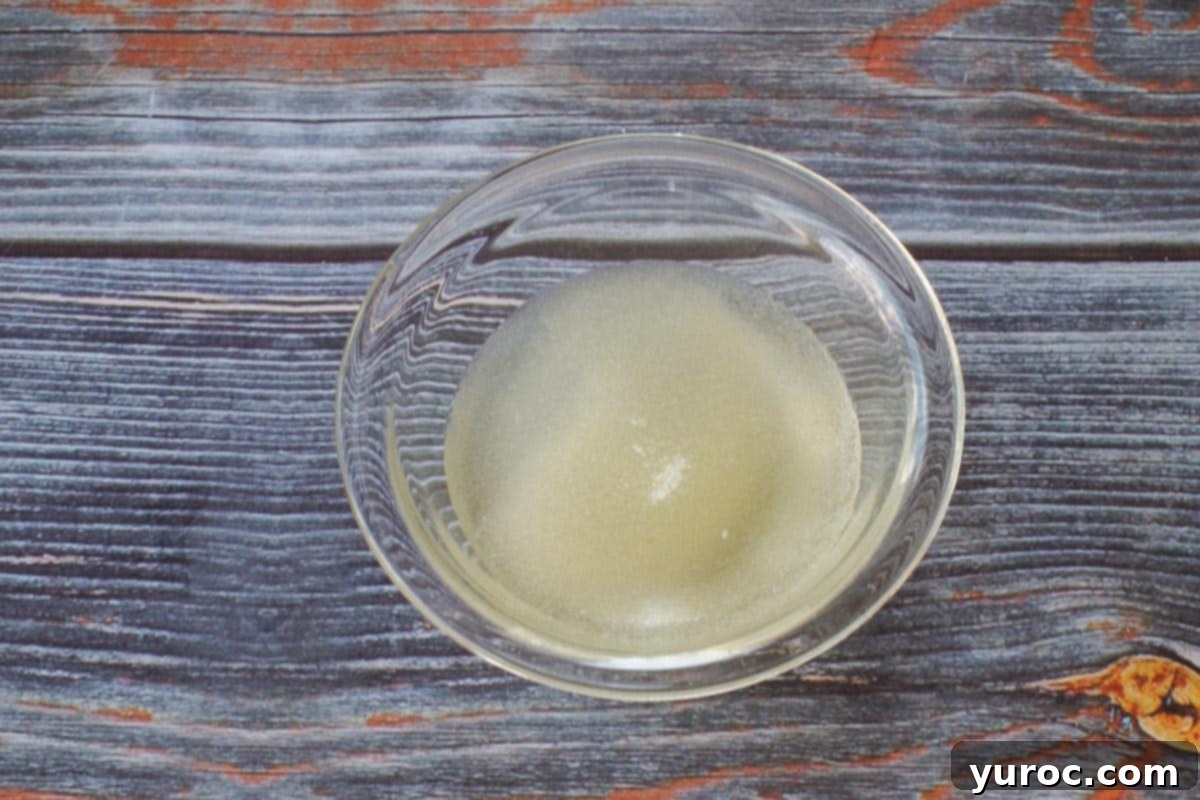
- Step 5: Bloom the Gelatin: In a separate small bowl, sprinkle the gelatin crystals evenly over ¼ cup of cold water (this is only half of the total water needed for the gelatin). Allow it to sit undisturbed for about 5 minutes. During this time, the gelatin will absorb the water and swell, forming a thick, opaque gel. *Crucially, do NOT stir it at this stage.
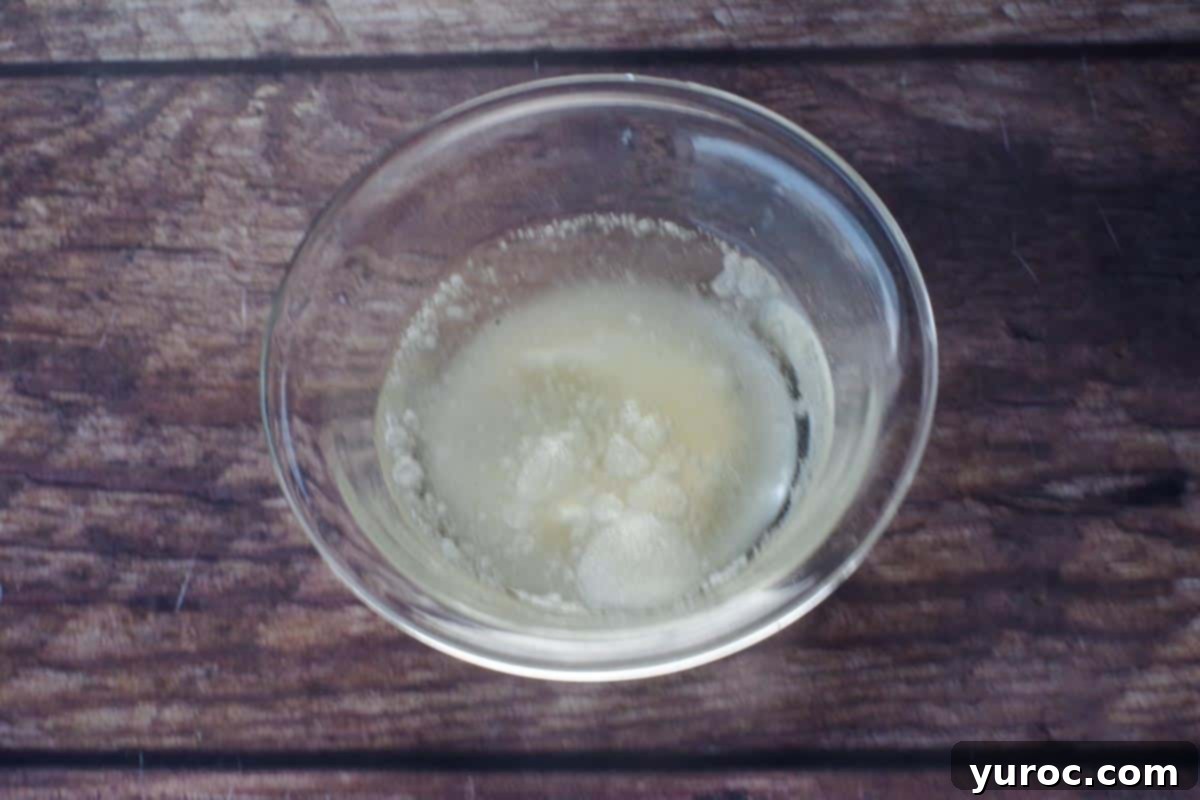
- Step 6: Observe the Bloom: As mentioned, after 5 minutes, your gelatin will have transformed from granular crystals into a thick, solidified gel. This “blooming” process is vital for ensuring the gelatin dissolves smoothly and effectively in the next step, leading to a perfectly set pumpkin layer.
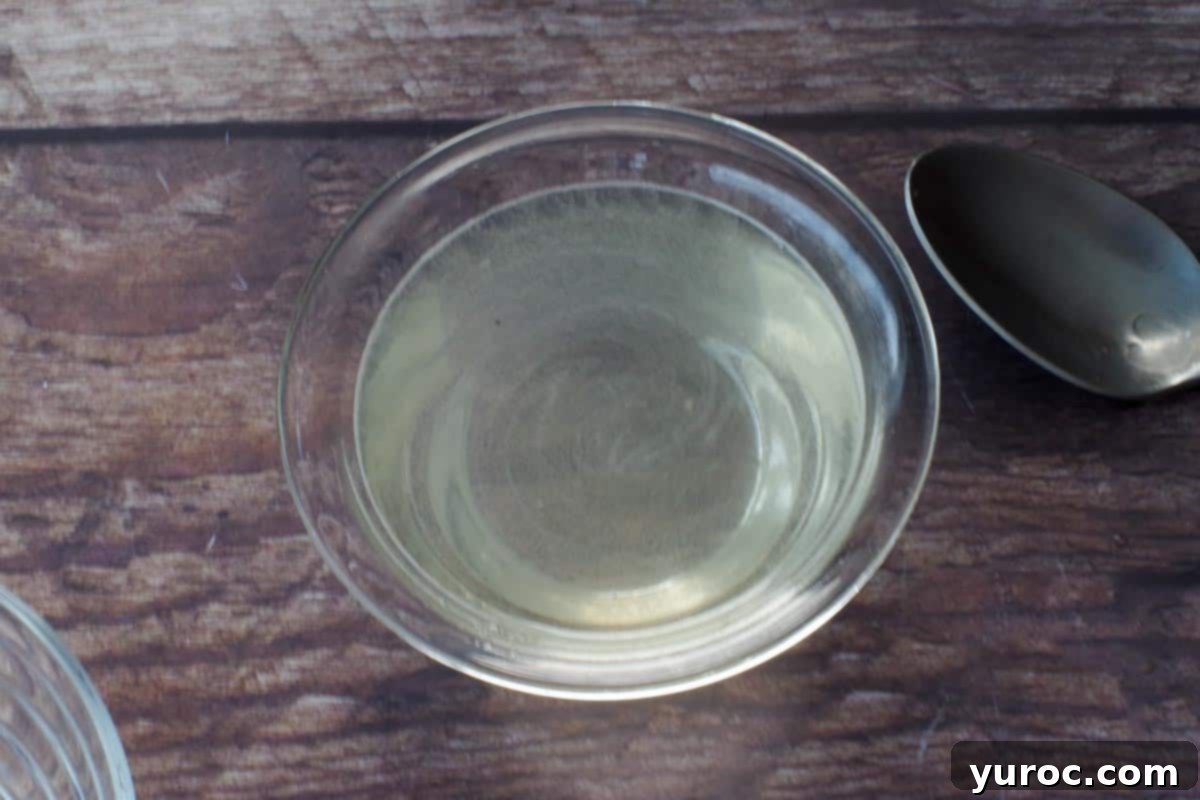
- Step 7: Dissolve the Gelatin: Heat the remaining ¼ cup of water in the microwave for approximately 30 seconds on high power, until it’s hot but not boiling. Pour this hot water directly over the bloomed gelatin. Stir gently until the gelatin completely dissolves and returns to a clear, liquid state. Let it cool slightly before adding to the pumpkin mixture.
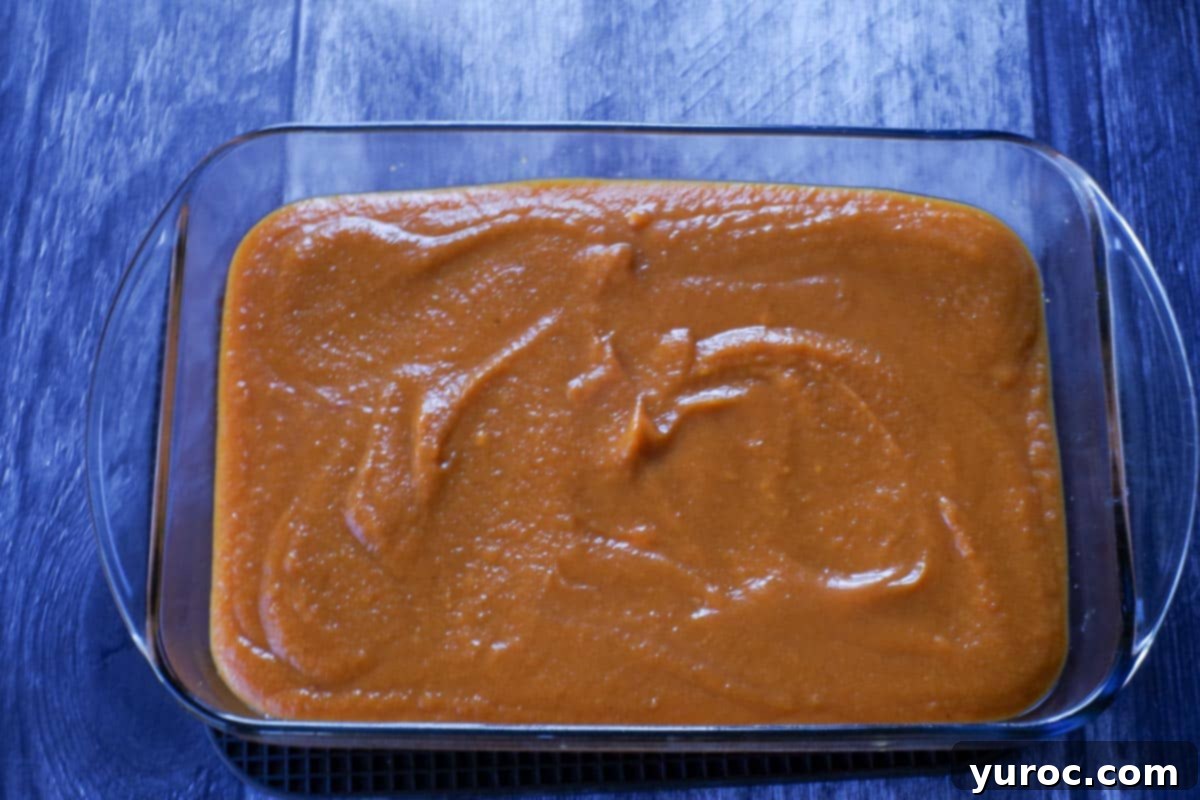
- Step 8: Assemble the Pumpkin Layer: Once the dissolved gelatin has cooled slightly, whisk it thoroughly into your pumpkin and marshmallow mixture. Ensure it’s fully incorporated. Immediately pour this vibrant pumpkin filling over your completely cooled graham cracker crust. Spread it evenly, then cover the pan with plastic wrap and place it in the refrigerator to set for a minimum of one hour, or until firm.
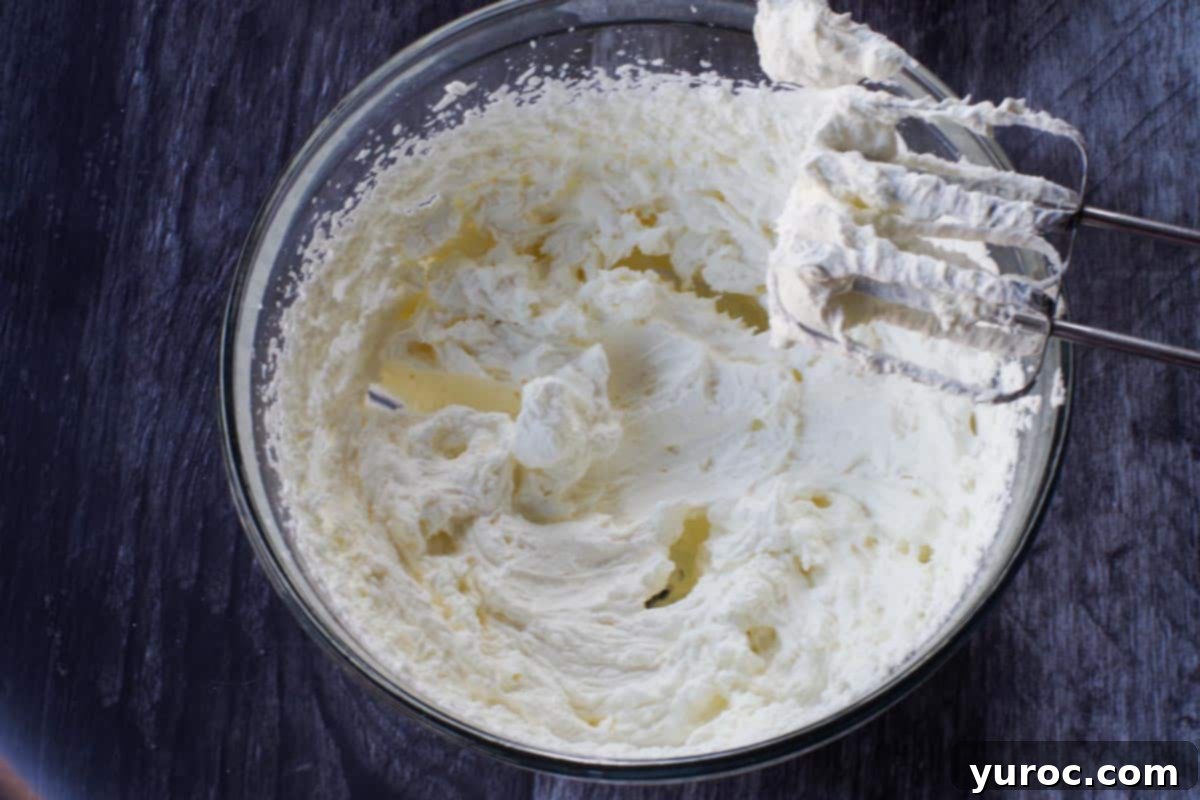
- Step 9: Prepare the Whipped Cream Topping: While the pumpkin layer is chilling and setting, it’s time to make the glorious whipped cream. Using an electric hand mixer or a stand mixer fitted with a whisk attachment, beat the 4 cups of heavy whipping cream on medium-high speed until it starts to form soft peaks. Then, gradually add the remaining 2 tablespoons of white sugar and continue beating until stiff peaks are achieved. The cream should be thick and hold its shape.
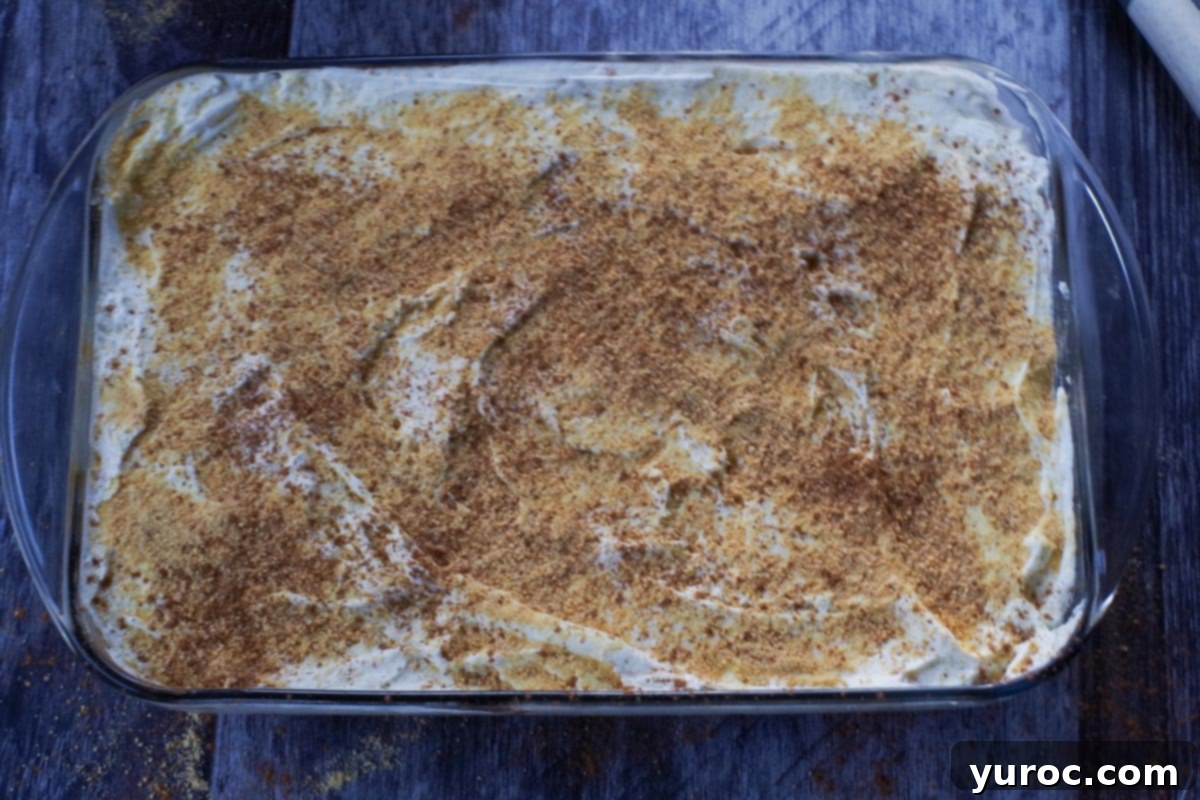
- Step 10: Layer and Garnish: Once your pumpkin layer is fully set and firm (this is critical!), gently spread the freshly whipped cream evenly over the top. For a beautiful finish, sprinkle the reserved ¼ cup of graham cracker crumbs and a dash of ground cinnamon (if desired) over the whipped cream. *Remember, waiting for the pumpkin layer to be completely set is key. Attempting to add the whipped cream too soon will make it difficult to spread cleanly and could cause it to mix into the pumpkin layer, creating a less defined dessert.
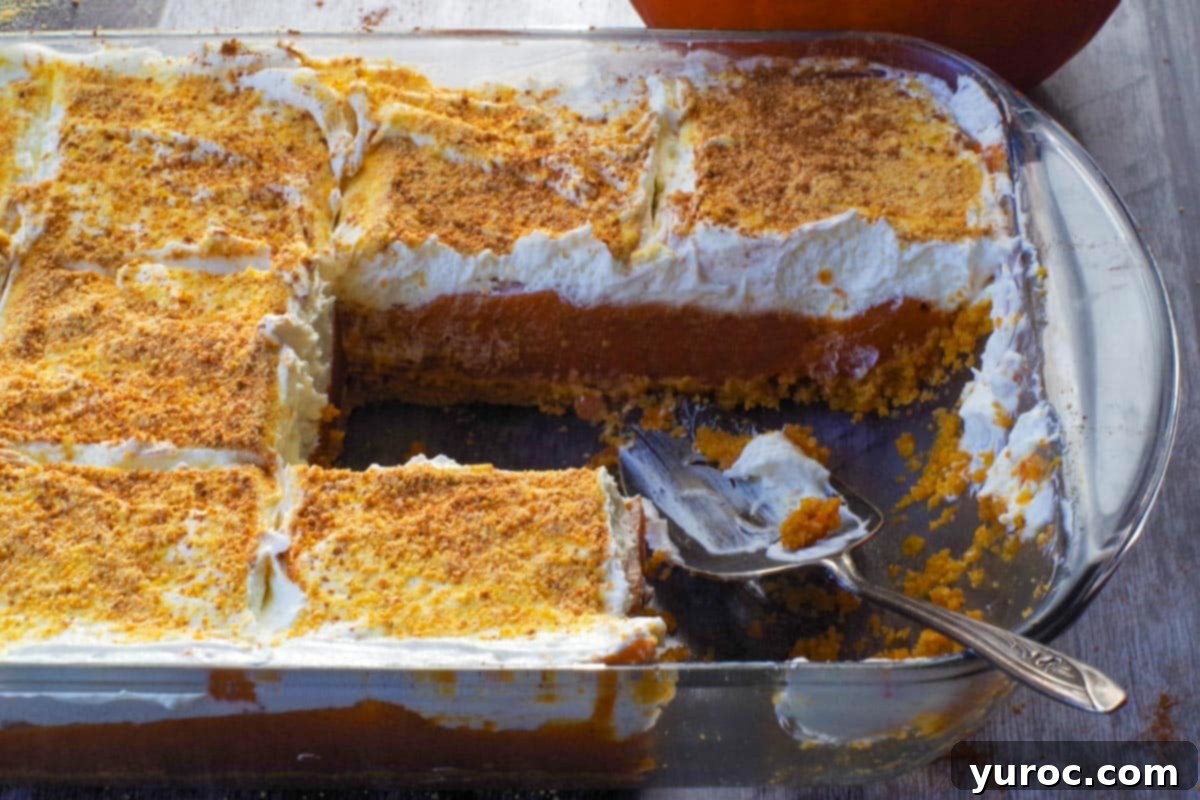
Chef’s Top Tip for Melting Marshmallows!
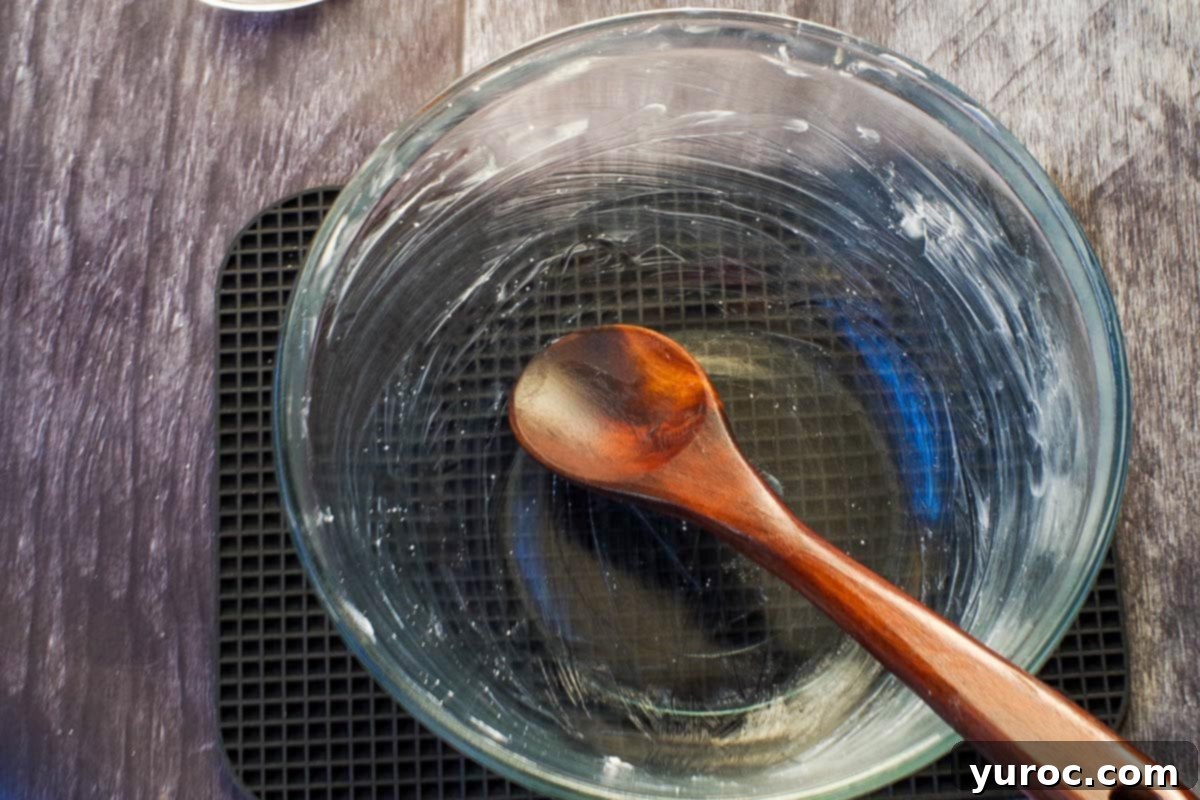
Working with melted marshmallows can be notoriously sticky, but here’s a game-changing trick: **before microwaving, lightly grease your spoon and the inside of your microwave-safe bowl with a small amount of shortening.** This creates a non-stick barrier that will allow the marshmallows to release easily and make stirring and cleanup a breeze! I use this method every time I prepare recipes involving marshmallows (like my Christmas nougat recipe), and it works like a charm!
🌡️ Storage Instructions
To keep your Easy Pumpkin Delight fresh and delicious, store any leftovers in an airtight container in the refrigerator. It will maintain its quality for up to 4 days. The airtight container helps prevent the whipped cream from absorbing refrigerator odors and keeps the layers from drying out. Unfortunately, this particular recipe does not fare well when frozen. Freezing can alter the texture of the pumpkin layer, making it watery upon thawing, and the whipped cream may separate, so it’s best to enjoy this dessert fresh and chilled.
👪 Serving Suggestions & Portions
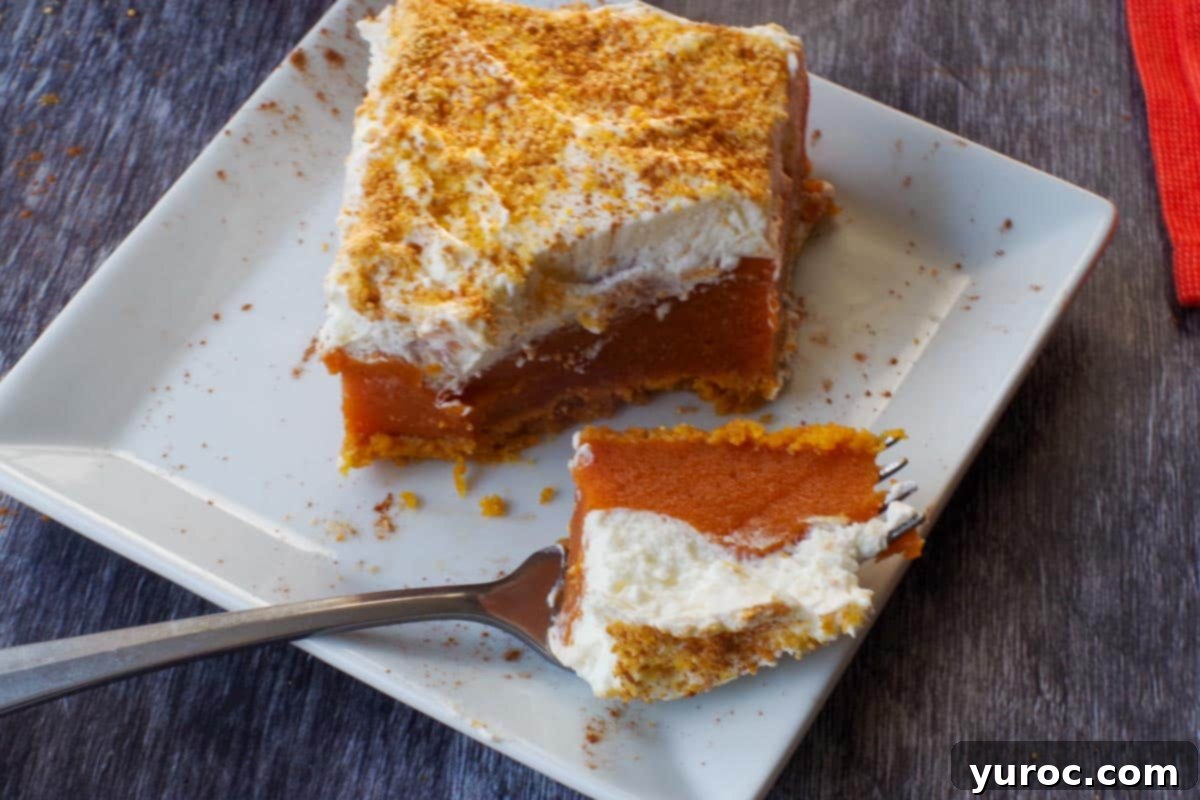
This easy layered pumpkin dessert recipe is designed to yield a generous 12 servings, making it perfect for satisfying a larger group or bringing along to a potluck event. Its substantial size ensures everyone gets a delightful piece! If you need to adjust the recipe to suit a different number of guests, simply click on the serving number in the recipe card below and select your desired quantity. The ingredient amounts will automatically update for your convenience. For smaller portions, you can easily cut the dessert into 16 or even 24 smaller pieces, making it an excellent option for a dessert buffet or when serving alongside other sweet treats.
🔢 Making it WW (Weight Watchers) Friendly
For those following the Weight Watchers program, this delicious dessert can be adapted to be more WW friendly with a few simple substitutions. By opting for light margarine in the crust, using sugar-free marshmallows in the filling, and replacing white sugar with monk fruit sweetener (remember to use only half the amount called for, as monk fruit is much sweeter), you can significantly reduce the points. Additionally, utilizing fat-free Cool Whip for the topping instead of heavy whipping cream will further reduce the caloric and fat content, allowing you to enjoy this delightful pumpkin treat without derailing your wellness goals.
❔ Frequently Asked Questions About Pumpkin Delight
Absolutely! This delicious layered pumpkin dessert is an excellent make-ahead option, perfect for reducing stress on busy days. You can prepare it up to two days in advance. For the best presentation and texture, however, I strongly recommend adding the whipped cream topping just prior to serving. This keeps the cream fresh, light, and perfectly piped.
No, canned pumpkin puree is not naturally sweet, nor does it typically contain any added spices. It’s simply cooked, pureed pumpkin, offering a rich, earthy flavor that serves as a versatile base for both sweet and savory dishes. This is why it’s crucial to use pure pumpkin puree for this recipe, allowing you to control the sweetness and spice levels accurately.
Yes, it is perfectly safe to eat canned pumpkin puree directly from the can. The pumpkin has already been cooked and processed before canning, so it is ready for immediate consumption. It’s often used as a direct ingredient in many no-bake recipes, smoothies, or even as a healthy addition to pet food.
Craving more comforting pumpkin-inspired creations? Look no further! Here are some other fantastic recipes you’ll love:
More Delightful Pumpkin Recipes
- Healthy Pumpkin Soup (without cream)
- Pumpkin Pie Ice Cream (no churn)
- Pumpkin Pie Sheet Pan Pancakes
- Apricot Bran Pumpkin Muffins
Did your family ❤️ this recipe as much as ours did? Your feedback is incredibly valuable! Did you know that commenting and ⭐ rating recipes is one of the best ways to support your favorite recipe creators? If you absolutely LOVED this Easy Pumpkin Delight, please take a moment to comment and rate it in the recipe card below. Even better, share your beautiful photos on social media using the hashtag #foodmeanderings or by tagging @foodmeanderings! We love seeing your culinary creations!
If you’re constantly seeking delightful and straightforward pumpkin puree desserts, this incredible fall treat is guaranteed to become a cherished addition to your recipe collection!

📋 Easy Layered Pumpkin Delight Recipe
Print Recipe
Pin
Save RecipeSave Recipe
Rate
Add to Shopping ListGo to Shopping List
Equipment
-
electric mixer
-
9X13 baking pan
Ingredients
Graham Cracker Crust
- 2 cups graham cracker crumbs (reserve ¼ cup for topping)
- ¼ cup margarine, melted
- 1 tablespoon white sugar
Filling
- 15 oz bag of marshmallows (½ kg)
- 28 oz canned pumpkin puree (796 ml)
- 2 teaspoon pumpkin pie spice
- 7 oz envelope of clear gelatin * I use Knox brand
- ½ cup water + ½ tablespoon
Topping
- 4 cups heavy whipping cream 33%- 36%
- 2 tablespoon white sugar – add more if desired
Garnish
- ¼ cup graham crumbs
- ground cinnamon (optional)
Instructions
Graham Cracker Crust
-
Preheat oven to 375 degrees F (190 degrees C).
Spray a 9X13 inch baking pan with non-stick cooking spray.
-
In a bowl, mix graham crumbs, melted margarine, and white sugar together until well combined.* Remember to set aside ¼ cup of graham crumbs for the topping!2 cups graham cracker crumbs, 1 tablespoon white sugar, ¼ cup margarine, melted
-
Press the mixture firmly and evenly into the prepared pan.
-
Bake for 5 minutes in the preheated oven.
-
Remove from oven and let cool completely.
Filling
-
In a large, microwave-safe bowl (grease with shortening for easy removal – see Top Tip), combine marshmallows with ½ tablespoon of water.
Microwave on half power (50%) for 2 minutes. Stir well. If not fully melted, continue microwaving at 50% power in 30-second increments, stirring after each, until smooth.
15 oz bag of marshmallows -
Whisk the pure pumpkin puree and pumpkin pie spice into the melted marshmallow mixture until thoroughly combined and smooth.28 oz canned pumpkin puree, 2 teaspoon pumpkin pie spice
-
In a small bowl, sprinkle gelatin crystals over ¼ cup of cold water (half the total water). Let it bloom undisturbed for 5 minutes. *DO NOT STIR.7 oz envelope of clear gelatin, ½ cup water + ½ tbsp
-
The gelatin will appear as a thick, opaque gel once bloomed.
-
Heat the other ¼ cup water in the microwave for 30 seconds on high. Pour hot water over the bloomed gelatin and stir until completely dissolved and clear. Allow it to cool slightly.
-
Whisk the cooled, dissolved gelatin into the pumpkin mixture until fully incorporated.
-
Pour the pumpkin filling evenly over the cooled graham cracker crust.
-
Cover and refrigerate for at least one hour, or until the pumpkin layer is completely set.
-
Meanwhile, prepare the topping. Using an electric mixer, beat the heavy whipping cream to soft peaks, then add the remaining white sugar.4 cups heavy whipping cream, 2 tablespoon white sugar
-
Continue beating until stiff peaks form.
-
Once the pumpkin layer is firmly set, carefully spread the whipped cream topping over it.
*Waiting for the pumpkin layer to set ensures clean layers and prevents mixing.
Garnish
-
Sprinkle the reserved graham crumbs and ground cinnamon (if using) evenly over the whipped cream.¼ cup graham crumbs, ground cinnamon
-
Cut into your desired serving sizes (12, 16, or 24 pieces). Serve chilled and enjoy!
Notes
*Recipe adapted from ‘Pumpkin Dessert’ on page 109 of “Cooking with Tradition.”
