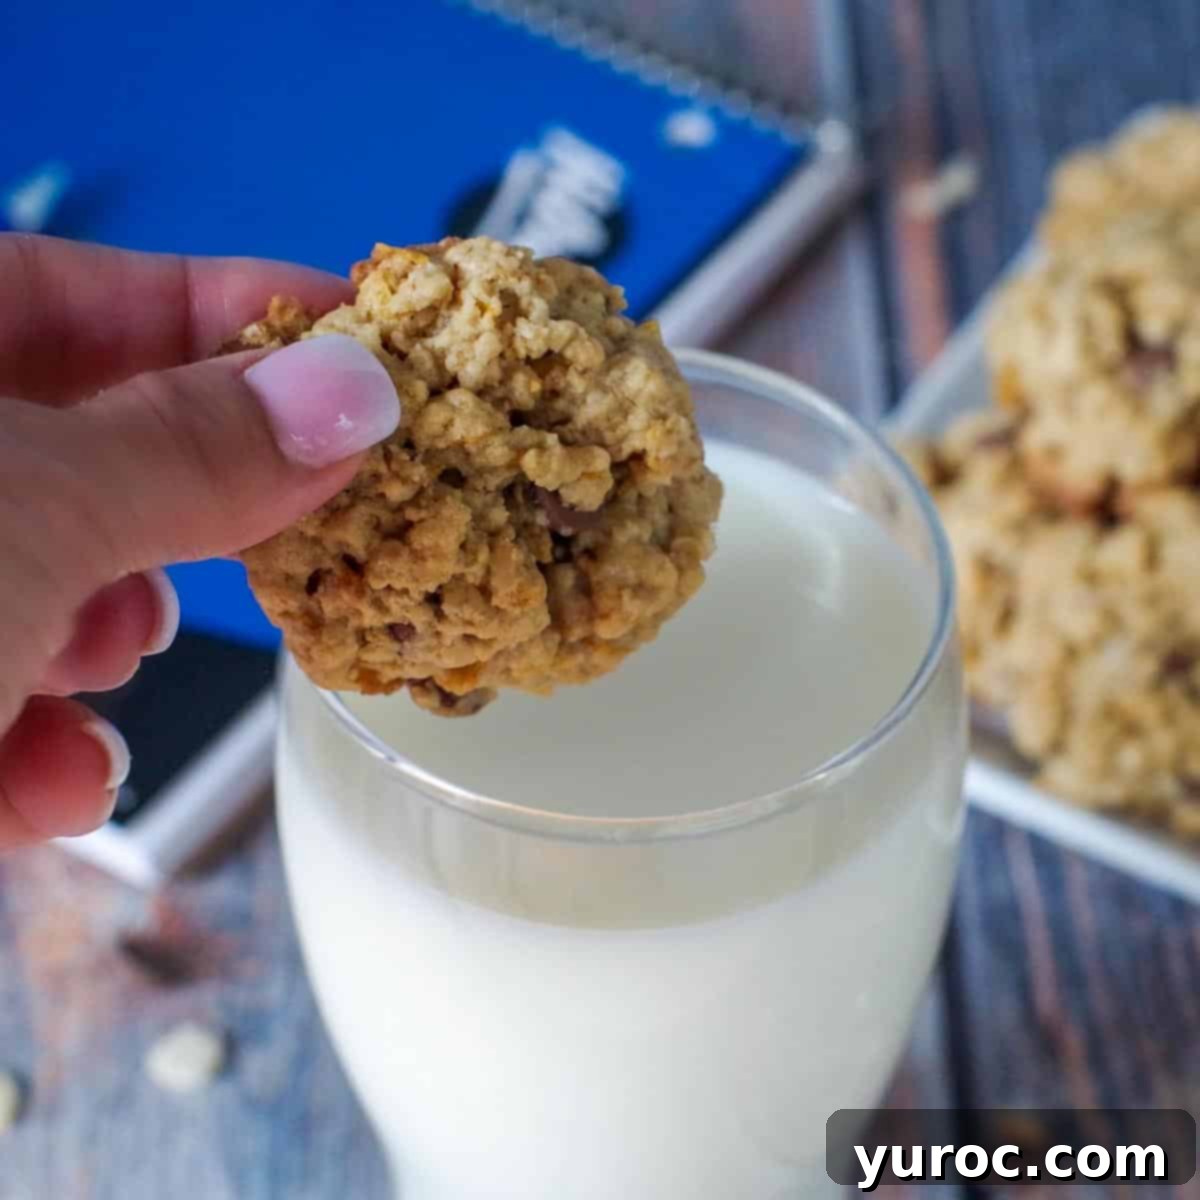
Crunchy & Chewy School Day Cereal Cookies: The Ultimate Back-to-School Treat!
This School Day Cereal Cookies Recipe is an absolute game-changer for the back-to-school season, and truly, any time of year! Imagine the comforting taste of a bowl of cereal with milk, but in a convenient, delicious cookie form. These cookies are generously loaded with an irresistible blend of textures and flavors, featuring sweet chocolate chips, wholesome oats, and a hint of coconut, all held together by a delightful crunch from your favorite breakfast cereals.
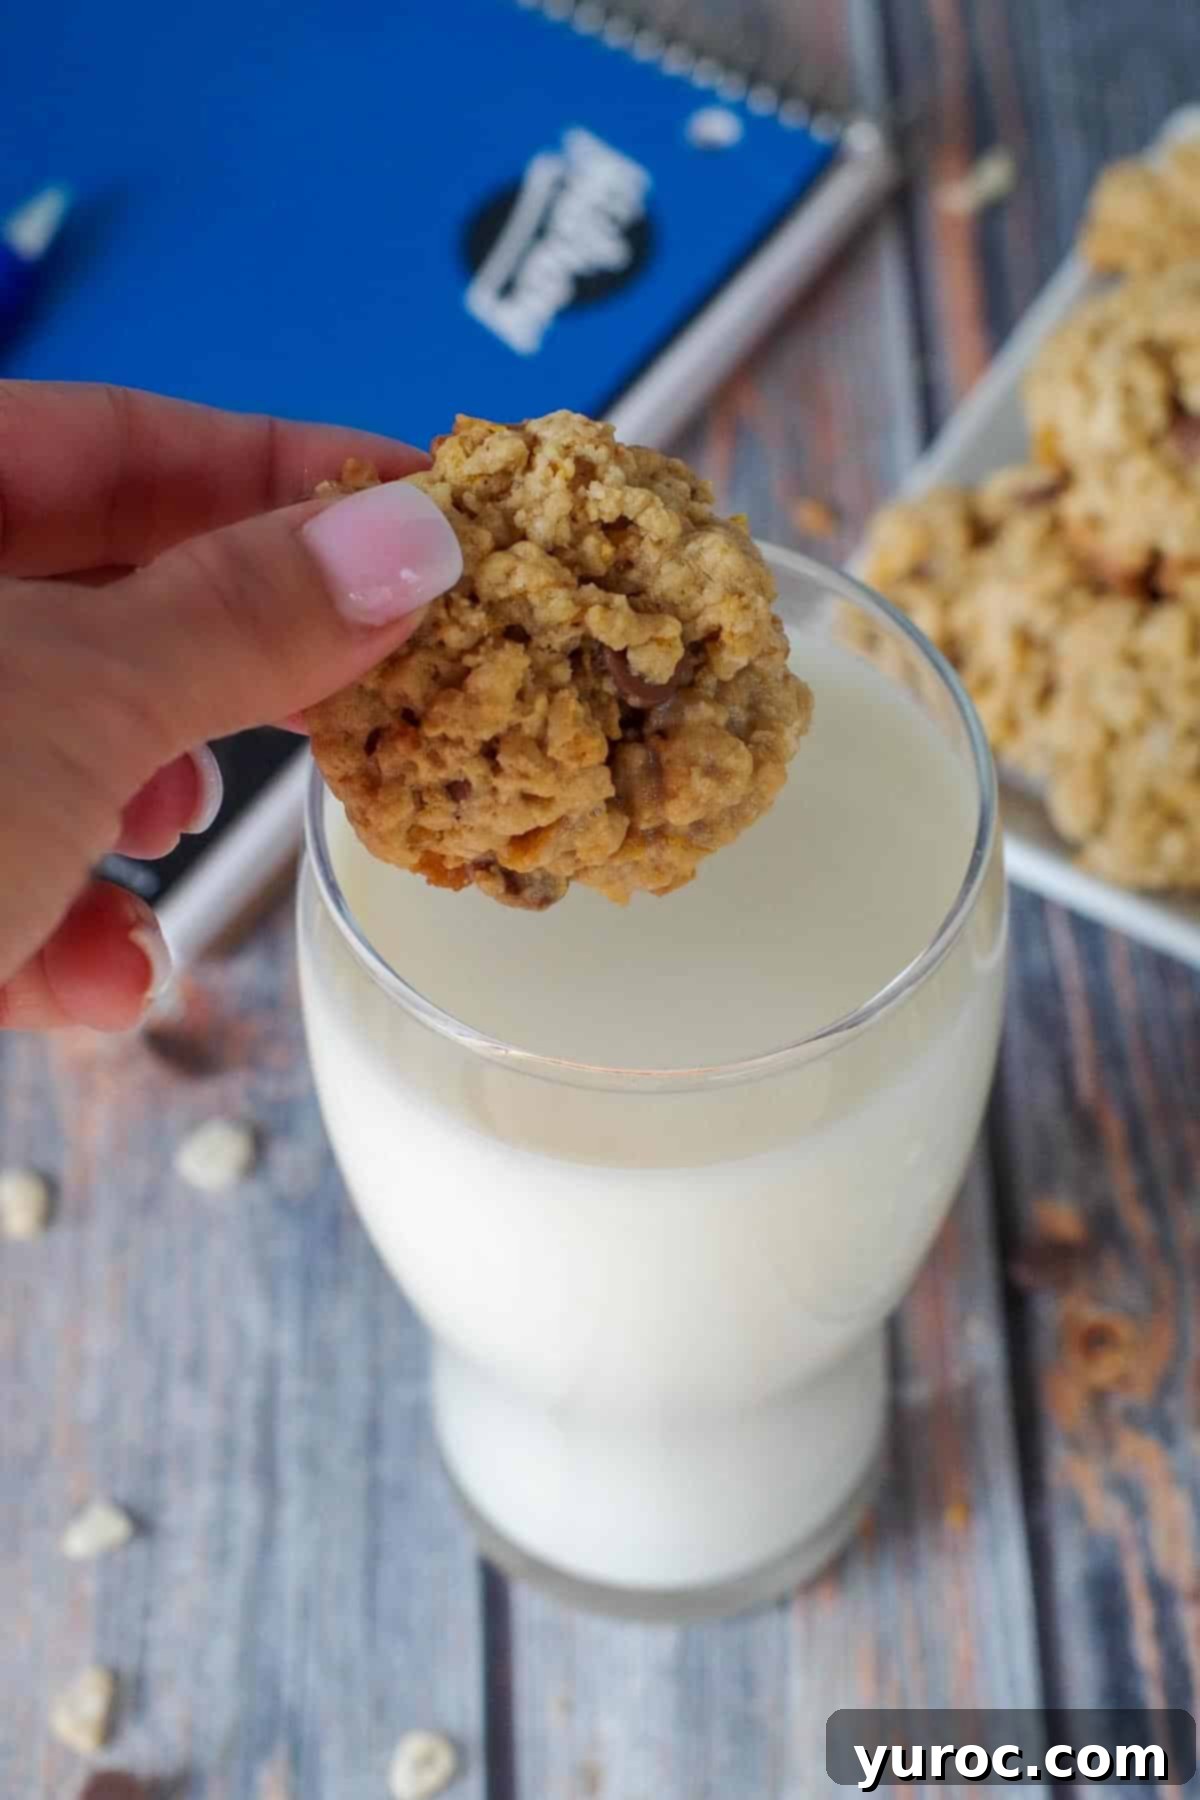
While these easy breakfast cereal cookies are a sensation in late summer and early fall, perfectly coinciding with back-to-school preparations, their deliciousness knows no season. They are especially ideal for using up those leftover cereal bits that accumulate in your pantry! These homemade cereal cookies are truly the best cookies for packing into a lunch box, offering as a quick school snack, or simply enjoying as a comforting after-school treat. Some might even argue they’re perfect for a quick breakfast on the go! No matter when you enjoy them, they pair absolutely perfectly with a tall, cold glass of milk, creating a nostalgic and satisfying experience.
As another new school year dawns, it’s hard to believe how quickly time flies – my son is already off to University! Even though he’s an adult now, there’s still nothing quite like a big batch of Mom’s homemade cookies to bring a smile to his face. And honestly, who doesn’t love a good cookie? My own mother wasn’t a huge baker, so the rare times she whipped up a batch of cookies were extra special to me.
However, my Auntie Sue was a baking enthusiast, and I’ve been fortunate to inherit many of her fantastic recipes over the years, like her Easy Oatmeal Raisin Cookies. In fact, this very cereal cookie recipe is an adaptation of one of her treasured family recipes. It’s an oldie but a definite goodie, a recipe that has truly stood the test of time.
The first time I made these cereal-packed cookies, my entire family devoured them and immediately begged for more! They quickly became a firm family favorite, proving themselves to be the ideal treat for busy school days. For another fun cereal-inspired snack, our Chocolate Cereal Clusters (made with Chex cereal) are also a huge hit around here, offering a slightly healthier twist if you’re looking for something different.
🍪 Essential Ingredients for Perfect Cereal Cookies
To create these wonderfully crunchy and chewy cereal cookies, you’ll need a selection of simple, readily available ingredients. The beauty of this recipe lies in its ability to transform your favorite breakfast cereals into a delectable dessert.
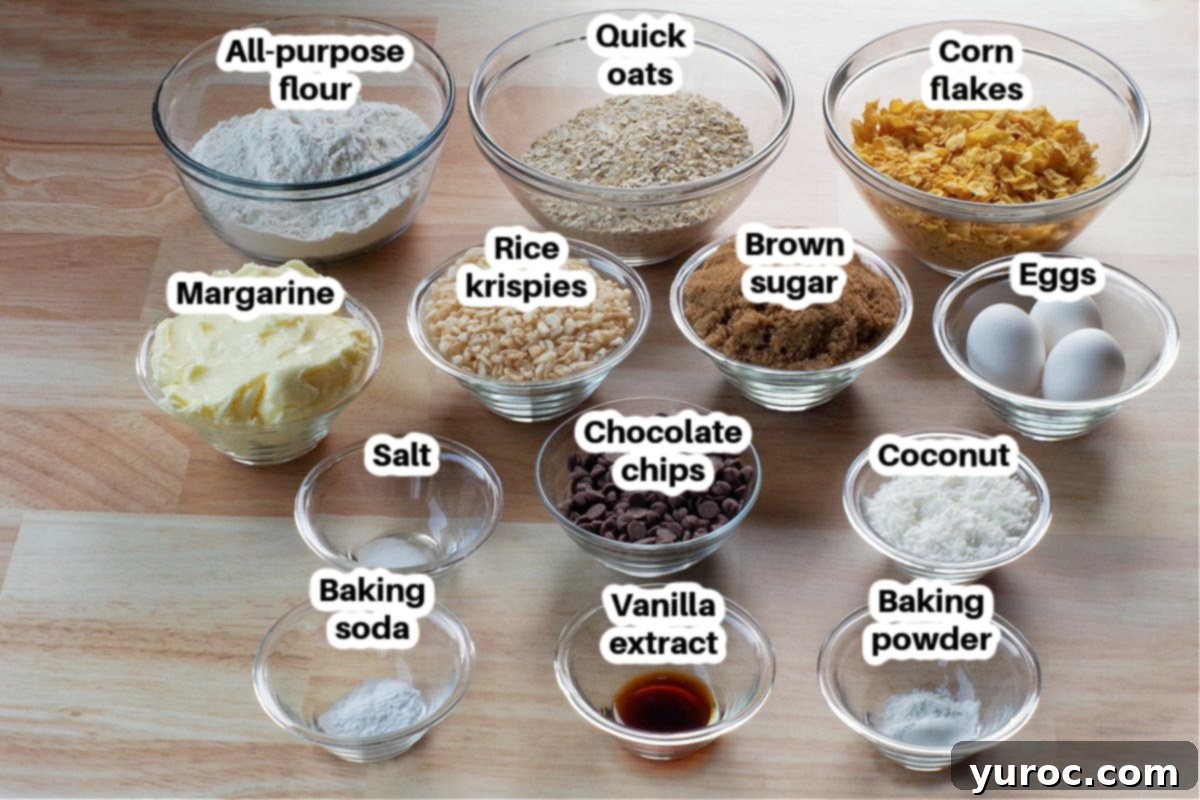
- Margarine: I personally opt for Becel margarine in this recipe because it tends to spread less during baking compared to butter. This helps maintain a more consistent cookie shape and thickness.
- Brown Sugar: The addition of brown sugar is key for imparting a rich, deep, and slightly caramel-like flavor to these cookies. It also contributes to their wonderfully soft and chewy texture.
- Quick Rolled Oats: Using quick oats is a strategic choice here. They have a greater liquid absorption capacity than old-fashioned oats, which helps to prevent the cookies from spreading too much and creates a less ‘chewy,’ more integrated texture. Their smaller size also blends seamlessly into the dough.
- Sweetened Coconut Flakes: These flakes are not just for sweetness; they add a fantastic textural element and a subtle, tropical flavor that complements the other ingredients beautifully, elevating the overall cookie experience.
- Corn Flakes and Rice Krispies (Crispy Rice Cereal): The combination of these two classic cereals is absolutely perfect for achieving the signature “cereal with milk” taste and a delightful crunch. Both cereals maintain their crispiness exceptionally well during baking, preventing any sogginess and ensuring every bite is satisfyingly crunchy.
- Chocolate Chips: I prefer using milk chocolate chips for their creamy texture and sweet, mellow flavor, which harmonizes wonderfully with the various components of these cookies. Feel free to use your favorite type!
- All-Purpose Flour: The foundation of our cookie structure, providing body and binding everything together.
- Eggs: Act as a binder, adding moisture and richness to the dough, contributing to the cookie’s structure and tenderness.
- Vanilla Extract: A crucial flavor enhancer that brings warmth and depth to the cookie, complementing the chocolate and coconut.
- Baking Soda & Baking Powder: These leavening agents work in harmony to give the cookies a slight lift and tender crumb.
- Salt: Essential for balancing the sweetness and enhancing all the other flavors in the cookie.
📖 Creative Variations & Easy Substitutions
One of the best things about this cereal cookie recipe is how adaptable it is! Don’t hesitate to experiment with different ingredients to suit your taste, dietary needs, or whatever you have on hand in your pantry.
- Margarine or Butter: If you prefer, you can certainly use unsalted butter instead of margarine. Keep in mind that butter has a higher fat content and a lower melting point, which might cause your cookies to spread a little more and result in a slightly richer, butterier flavor.
- Dairy-Free Option: To make these cookies dairy-free, simply ensure you use a good quality vegan margarine and substitute the milk chocolate chips with dairy-free chocolate chips. Many brands offer delicious plant-based chocolate options.
- Chocolate Chip Choices: While milk chocolate chips are my go-to, feel free to switch things up! Dark chocolate chips will add a sophisticated, less sweet contrast, while white chocolate chips can provide an extra creamy and sweet dimension. You could even try a mix of different types!
- Oat Alternatives: If quick rolled oats aren’t available, you can use old-fashioned rolled oats. However, they will absorb less liquid, leading to a cookie that spreads more and has a noticeably chewier texture. To minimize spread and achieve a texture closer to quick oats, you can pulse old-fashioned oats briefly in a food processor until they are slightly broken down.
- Sugar Swaps: While brown sugar provides a lovely depth of flavor and chewiness, you can substitute it with white granulated sugar if that’s what you have. The cookies might be slightly lighter in color and have a crisper texture.
- Coconut Customization: Coconut flakes add a wonderful texture and flavor, but you have options! Use fine or medium shredded coconut, sweetened or unsweetened, depending on your preference. If coconut isn’t your thing, you can leave it out entirely. Alternatively, substitute it with an equal amount of chopped nuts like pecans or walnuts for a different kind of crunch, or simply add more oats for extra texture.
- Cereal Exploration: Don’t limit yourself to just Corn Flakes and Rice Krispies! While they are fantastic, feel free to experiment with other sturdy, crunchy cereals like Cheerios, Crushed Graham Crackers, or even lightly crushed pretzel pieces for a salty-sweet twist. Just ensure they won’t get soggy too quickly in the dough.
- Add-ins Galore: Beyond chocolate chips, consider adding other mix-ins like dried cranberries, raisins, chopped dried apricots, or even a sprinkle of cinnamon or nutmeg for a warming spice note.
🔪 Step-by-Step: Crafting Your Perfect Cereal Cookies
Making these delightful School Day Cereal Cookies is a straightforward process. Follow these easy steps to achieve crunchy, chewy perfection:
- Preheat your oven to 350 degrees F (176 degrees C).
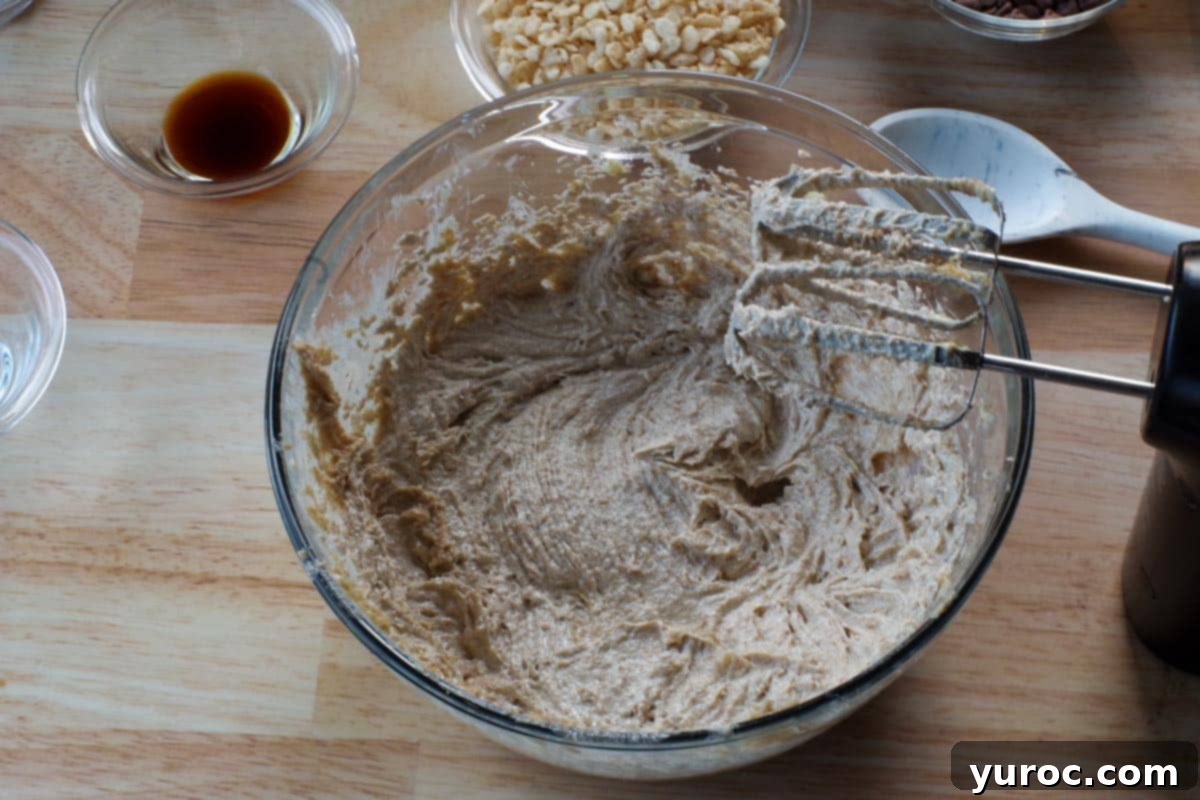
- In a large mixing bowl or the bowl of your stand mixer, combine the margarine and brown sugar. Using an electric mixer on medium speed (or a paddle attachment on a stand mixer for 30 seconds to 1 minute), cream the mixture until it becomes wonderfully light, fluffy, and creamy. This typically takes about 2 minutes. This step is crucial for incorporating air and creating a tender cookie.
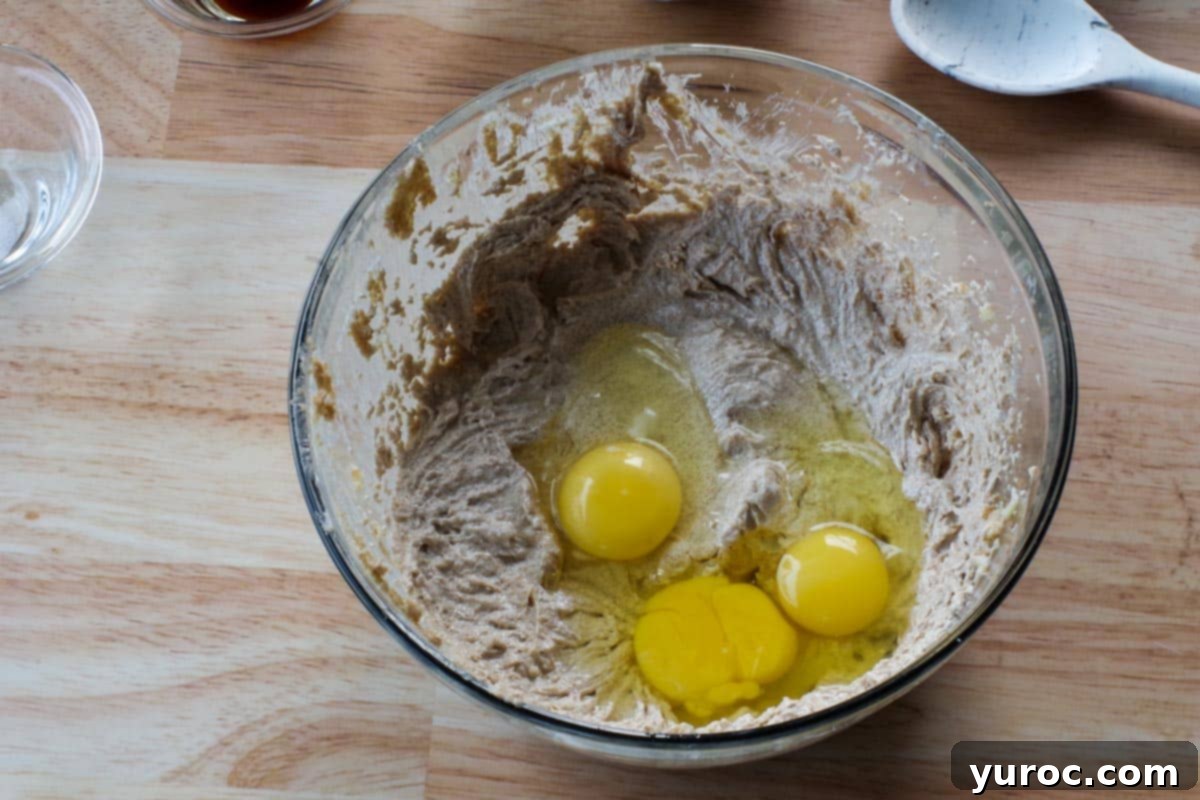
Crack and add the eggs one by one into the creamed margarine and sugar mixture. Remember our helpful hint below for avoiding shells!
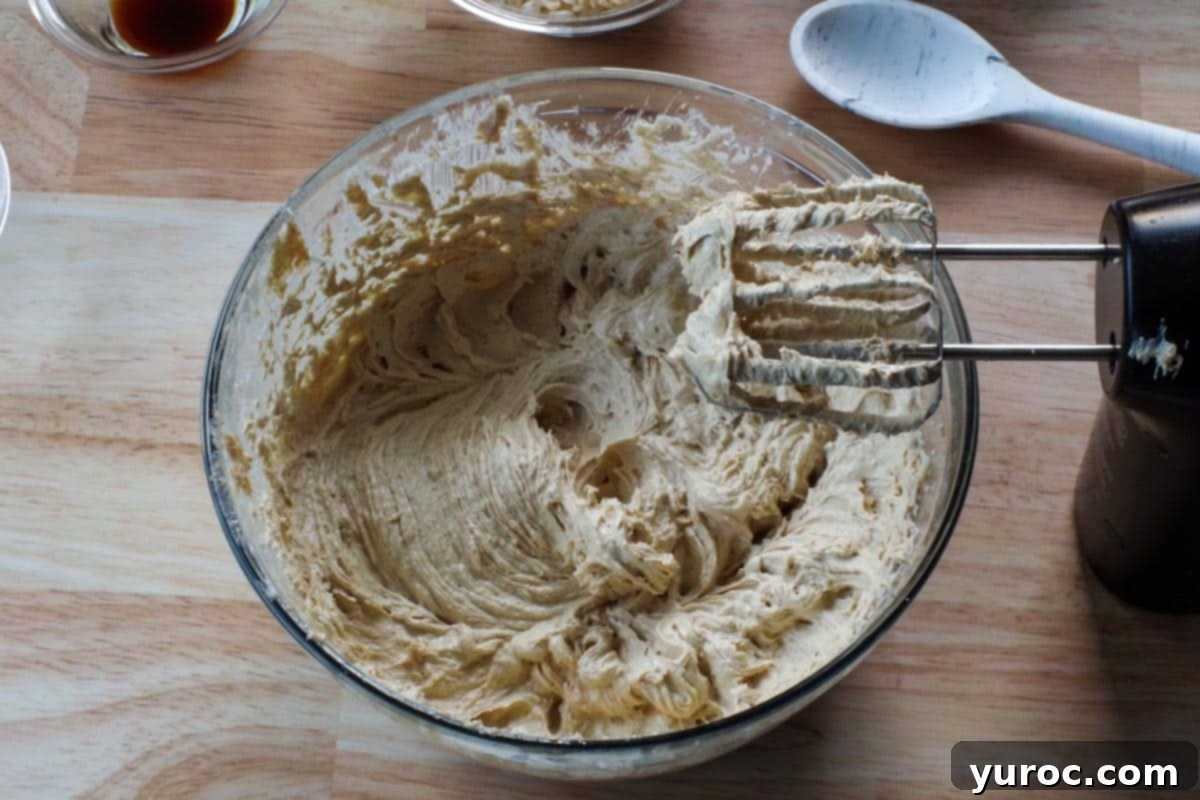
Continue beating the mixture with your electric mixer for about 1 minute until it is well combined, light, and noticeably fluffy. This ensures the eggs are fully integrated and contribute to the cookie’s airy texture.
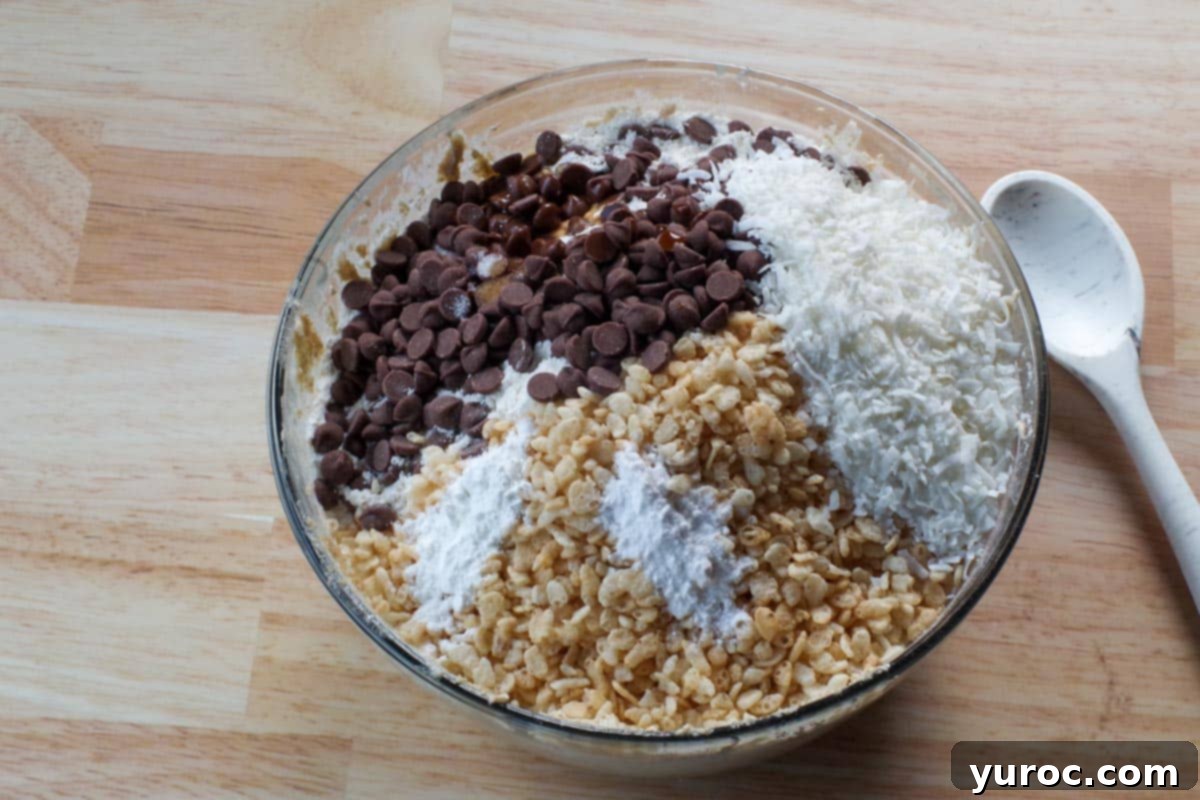
Carefully add the rest of your ingredients to the bowl: vanilla, quick rolled oats, flour, coconut flakes, uncrushed corn flakes, Rice Krispies, baking soda, baking powder, salt, and milk chocolate chips. This is where the cookie dough truly comes alive!
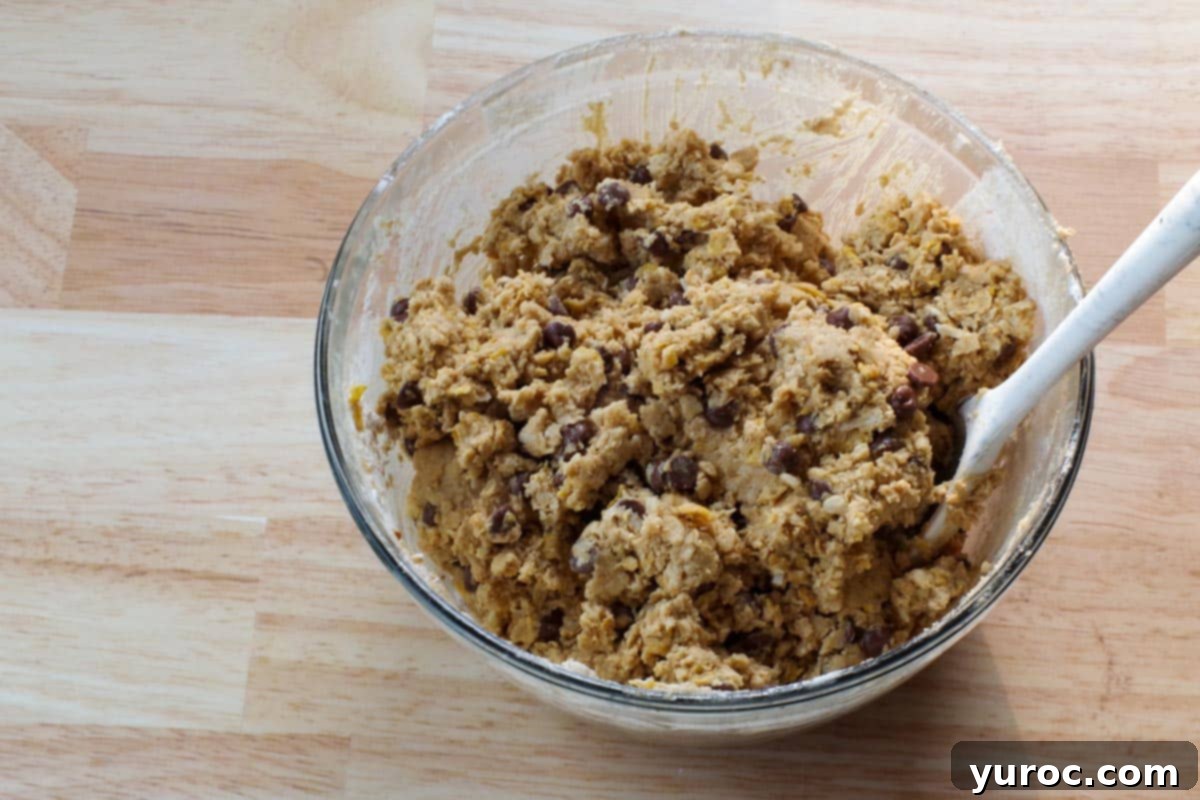
Using a large mixing spoon, stir the cookie mixture by hand until all ingredients are just combined. Be careful not to overmix, as this can crush the cereals and make the cookies tough. *If your dough appears too wet or sticky and doesn’t resemble the correct texture (as pictured), add a small amount of extra flour, one tablespoon at a time, until the desired consistency is reached.
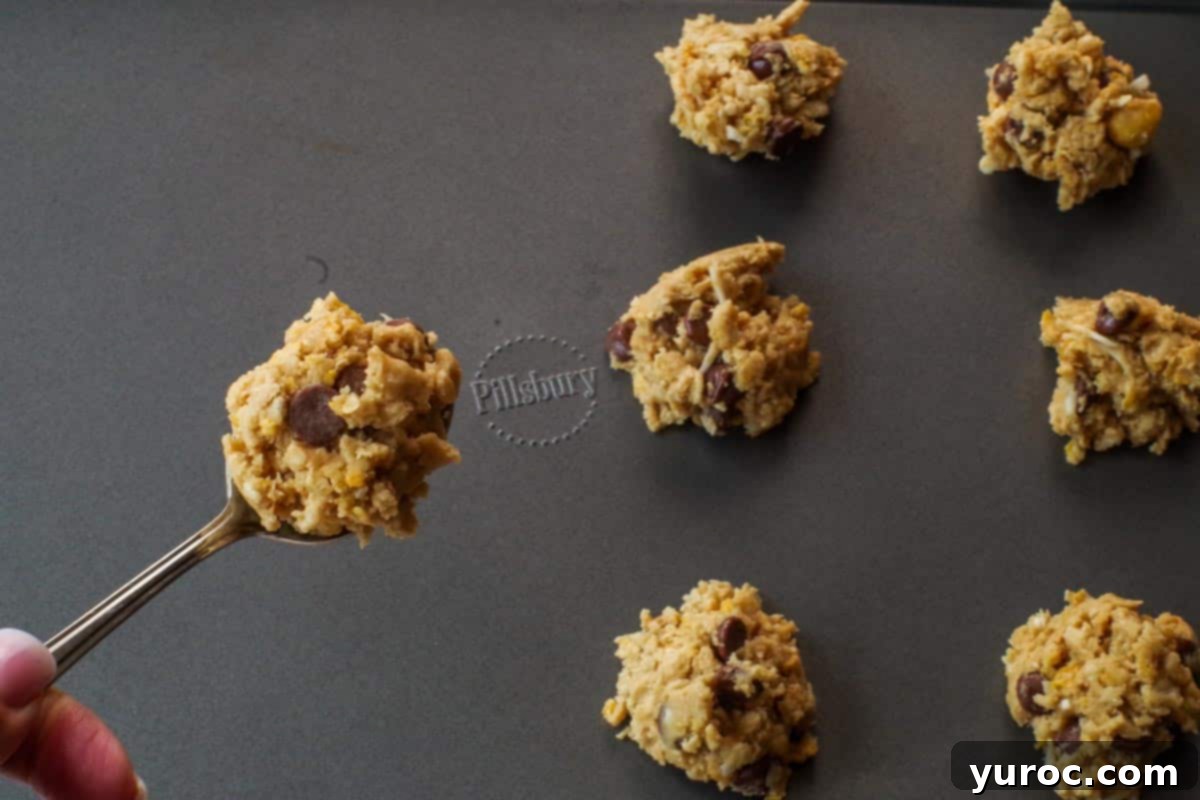
Drop the cookie dough by rounded teaspoonfuls onto an ungreased cookie sheet. For easier cleanup and to prevent sticking, you can also line your baking sheet with parchment paper. If you prefer uniformly sized cookies, a cookie scoop is a great tool to use.
*These cookies don’t spread significantly during baking, allowing you to fit a good number on each sheet – typically up to 16 cookies on a 9×13 baking sheet.
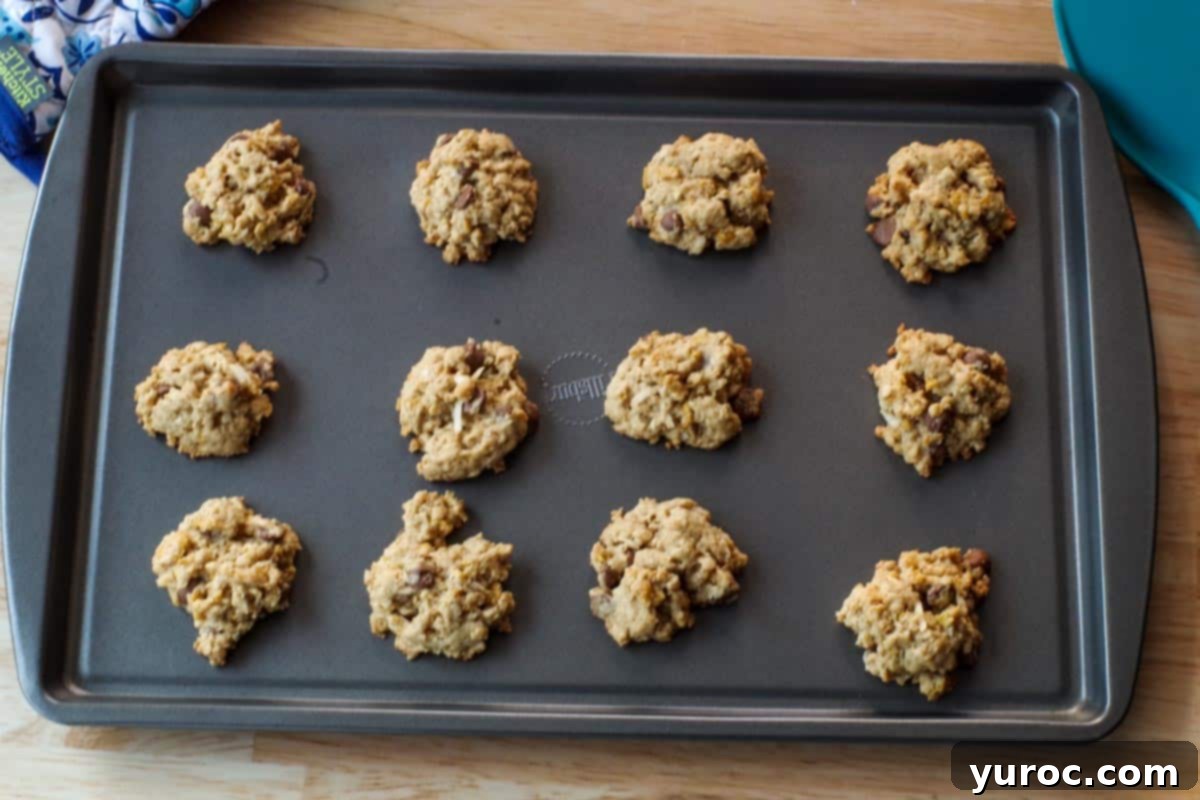
Bake your cereal cookies in the preheated oven at 350 degrees F (176 degrees C) for 10-12 minutes, or until the bottoms are beautifully golden brown. The exact baking time can vary by oven, so keep a close eye on them.
*For my oven, 12 minutes was absolutely perfect, yielding a cookie with a slight crisp edge and a chewy center!
*If you decide to make larger cookies, you’ll need to adjust the baking time to approximately 15 minutes.
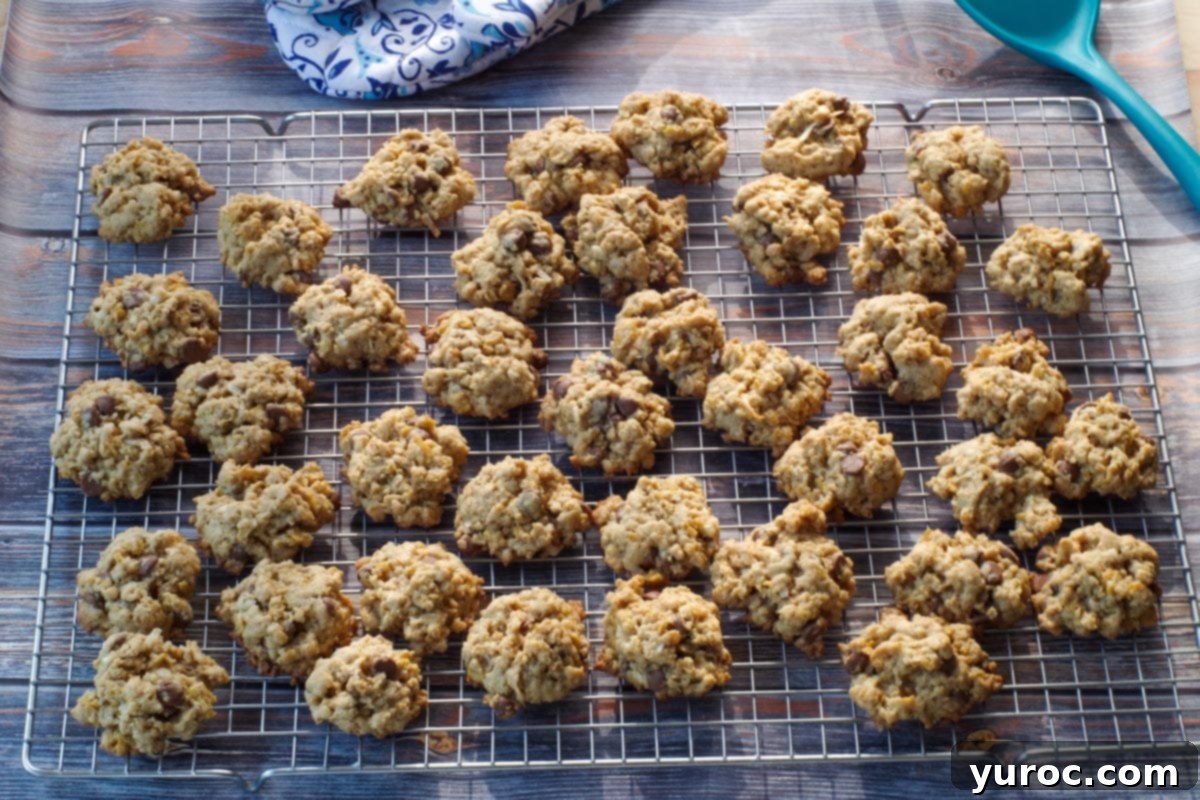
Once baked, allow the cookies to rest on the hot baking sheet for 2-3 minutes. This crucial step allows them to firm up slightly before you attempt to move them. Then, carefully transfer the warm cookies to a wire rack to cool completely. This prevents them from becoming soggy on the bottom and ensures a perfect texture.
Helpful Hint: Always crack your eggs into a separate small bowl before adding them to your main mixture. This simple trick makes it incredibly easy to spot and remove any rogue pieces of eggshell, preventing them from ending up in your delicious cookie dough!
⭐ Expert Recipe Tips & Troubleshooting
Achieving the perfect batch of School Day Cereal Cookies is easy with these expert tips and answers to common questions:
- Choose Quick Oats for Optimal Texture: Quick oats are your best friend here! They absorb more liquid than their old-fashioned counterparts, which is vital for preventing excessive spreading and ensuring your cookies hold their shape beautifully. This also contributes to a slightly less chewy, more uniform texture. If you only have old-fashioned oats, a quick pulse in a food processor can break them down enough to mimic quick oats.
- Avoid Overmixing the Dough: Once the wet ingredients are creamed, gently fold in the dry ingredients by hand. Overmixing can develop the gluten in the flour, resulting in tough cookies. More importantly, it can crush the delicate cereal pieces, sacrificing that satisfying crunch we’re aiming for. A light touch keeps the cookies tender and crispy.
- Measure Flour with Precision: The amount of flour can drastically impact your cookies. Too much flour leads to dry, crumbly cookies, while too little can make them spread excessively. Always use the “spoon-and-level” method: spoon flour into your measuring cup until it overflows, then level it off with the back of a knife. Never scoop directly from the bag, as this compacts the flour and adds too much.
- Consider Chilling the Dough (Optional but Recommended): If time allows, chill your cookie dough for 20-30 minutes. This step helps to firm up the margarine, making the dough easier to handle and scoop. More importantly, it prevents the cookies from spreading too rapidly in the oven, helping them maintain a thicker, chewier texture.
- Utilize a Cookie Scoop for Consistency: For beautifully uniform cookies that bake evenly, a cookie scoop is an invaluable tool. If you don’t have one, a rounded teaspoon will work just fine, but try to keep your scoops consistent in size.
- Bake One Tray at a Time: For the most consistent results, bake your cookies one sheet at a time, placing the tray in the center of your oven. If you must bake two trays simultaneously, rotate them halfway through the baking process and switch their positions on the racks to ensure even browning.
- Verify Your Oven Temperature: Ovens can be notoriously inaccurate, often running 10-25 degrees off the set temperature. If your cookies are consistently browning too quickly or taking longer than expected, consider investing in an oven thermometer to verify and adjust your oven’s temperature accordingly. This simple tool can make a huge difference!
- Allow for Initial Cooling on the Sheet: It’s tempting to move freshly baked cookies immediately, but resist the urge! Let them rest on the baking sheet for 2-3 minutes after removing them from the oven. This allows them to firm up slightly, preventing them from breaking apart when you transfer them to a wire rack for full cooling.
- Adjust for Your Climate: Baking can be affected by humidity. In very dry climates, you might find you need slightly less flour, as the flour itself is drier. Conversely, in humid climates, a bit more flour might be necessary to achieve the right dough consistency. Start with the recipe’s specified amount, then make small adjustments if the dough feels either too wet or too stiff.
❔ Recipe FAQs: Common Questions Answered
Here are answers to some frequently asked questions about making these delicious cereal cookies:
If your cookie dough appears overly wet or sticky, don’t fret! Try incorporating a little more flour, one tablespoon at a time, until it reaches a manageable consistency. Remember that ambient climate, especially in drier or more humid regions, can significantly influence how flour absorbs liquid, so a slight adjustment might be necessary.
Absolutely! You can substitute unsalted butter for margarine in this recipe. Just be aware that butter typically has a richer flavor profile and a slightly lower melting point, which could lead to your cookies spreading a bit more during baking. The texture might also be marginally different.
Yes, you can certainly try! For an egg-free version, consider using common egg replacers such as: 1 flax egg (1 tablespoon ground flaxseed mixed with 3 tablespoons water, allowed to sit for 5 minutes) per egg, ¼ cup unsweetened applesauce per egg, or ¼ cup mashed banana per egg. Keep in mind that using banana will impart a subtle banana flavor to your cookies, and any substitution may slightly alter the final texture.
Several factors can lead to dry or crumbly cookies:
- Too much flour: Always measure flour using the spoon-and-level method, rather than scooping directly from the bag, which can compact it.
- Overbaking: Ovens vary, so it’s always a good idea to start checking your cookies a minute or two before the minimum recommended baking time.
- Insufficient moisture: In very dry climates, you might naturally need a touch less flour or a bit more margarine to ensure adequate moisture.
🌡️ Storage Solutions for Freshness
To keep your delicious breakfast cereal cookies at their best, follow these simple storage guidelines:
Store baked cookies in an airtight container at room temperature for up to 3 days. For longer enjoyment, these cookies freeze beautifully in a sealed container or freezer bag for up to 3 months. To thaw, simply let them sit at room temperature for an hour or two.
You can also prepare the cookie dough ahead of time! Freeze the raw cookie dough in an airtight container or a heavy-duty Ziploc freezer bag for up to 3 months. When you’re ready to bake, transfer the dough to the fridge overnight to defrost, then scoop and bake as directed.
👪 Scaling This Recipe for Any Occasion
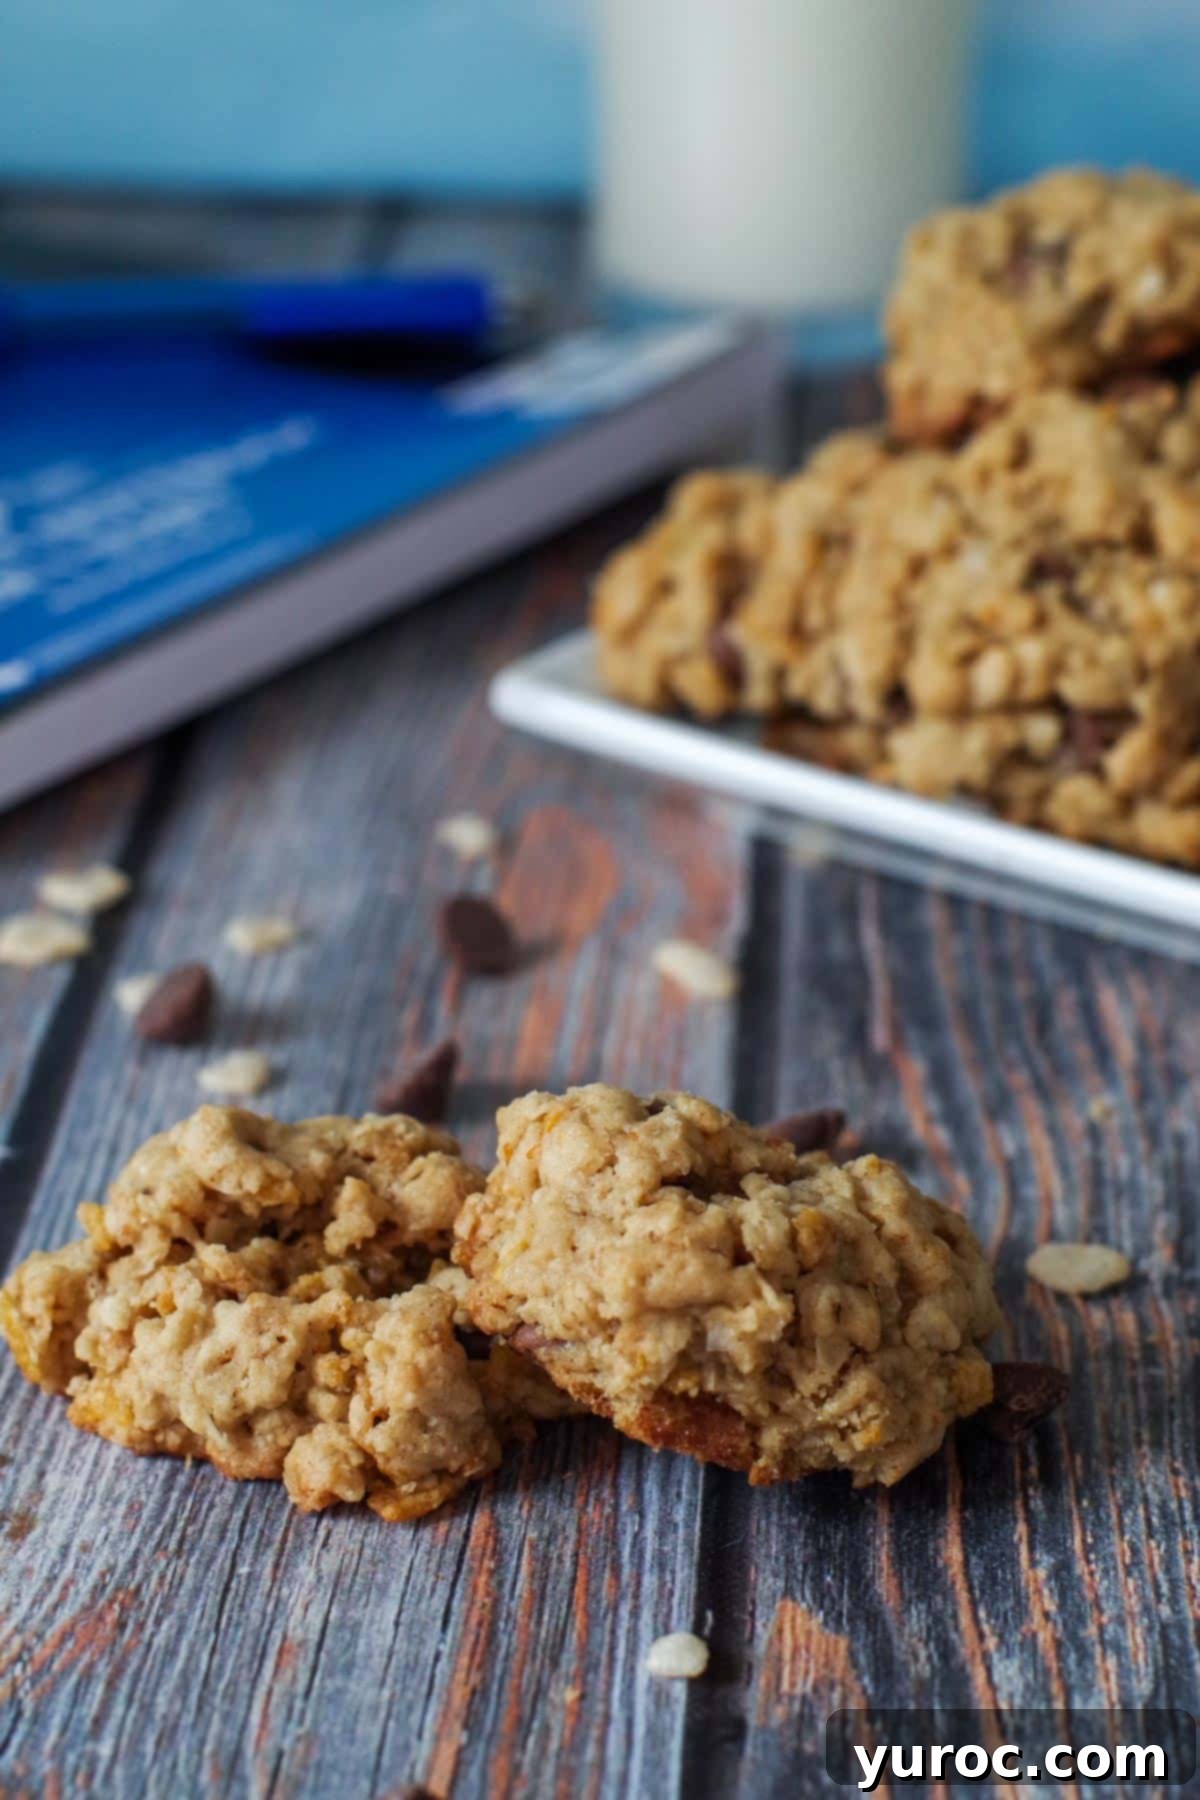
This incredibly popular cookie recipe yields a wonderfully generous batch – approximately 100 cookies! This makes it perfect for bake sales, large gatherings, or simply ensuring you have plenty of treats on hand for the whole family throughout the week. However, the recipe is very flexible. You can easily half, double, or even triple the recipe to suit your needs. Simply click on the serving number in the recipe card below and select your desired quantity; the ingredient measurements will automatically adjust for you.
If you’re halving the recipe, just do your best to divide the 3rd egg in half – a little approximation won’t harm the final result!
So, whether you’re searching for fun back-to-school cookie ideas, a special treat for the first day of school, or a crowd-pleasing option for bake sales, these delicious cereal cookies are sure to be adored by all cereal lovers! They offer a unique blend of flavors and textures that stands out from typical chocolate chip cookies, making them a memorable and cherished homemade snack.
And if you’re looking for more inspiration for healthy and exciting back-to-school lunch ideas, be sure to explore my collection of Healthy Lunch Ideas. They are versatile and great for kids of all ages, from elementary school to high school and beyond!

🏫 More Delicious Back-to-School Snacks
Looking for more easy and wholesome snack ideas to fuel those busy school days? Check out these other family favorites:
- Healthy Banana Chocolate Chip Muffins with Pineapple
- No Bake Healthy Rocky Road Bars
- Healthy Apricot Sunflower Rice Krispie Treats
- Cinnamon Raisin Tortilla Sushi
Did your family ❤️ this recipe? Did you know that commenting and ⭐ rating recipes is one of the best ways to support your favorite recipe creators? If you LOVED this recipe, please comment and rate it in the recipe card below, or share photos on social media using the hashtag #foodmeanderings or tagging @foodmeanderings!


📋 School Days Cereal Cookies Recipe
Equipment
- baking sheet
- electric mixer
- cookie scoop
Ingredients
- 2 cups margarine
- 3 eggs
- 2 teaspoon vanilla
- 2 cups brown sugar
- 2 ½ cups quick rolled oats
- 3 cups flour
- 1 cup coconut flakes (sweetened)
- 3 cups uncrushed corn flakes
- 1 ½ cups Rice krispies
- 1 teaspoon baking soda
- 1 ½ teaspoon baking powder
- ½ teaspoon salt
- 1 ½ cup milk chocolate chips
Instructions
- Preheat oven to 350 degrees F/ 176 degrees C.
- Cream margarine and brown sugar with an electric mixer on medium speed and until fluffy and creamy (about 2 minutes)2 cups margarine, 2 cups brown sugar
- Add eggs.3 eggs
- Beat with electric mixer until light and fluffy (about 1 minute).
- Add the remainder of the ingredients.2 teaspoon vanilla, 2 ½ cups quick rolled oats, 3 cups flour, 1 cup coconut flakes, 3 cups uncrushed corn flakes, 1 ½ cups Rice krispies, 1 teaspoon baking soda, 1 ½ teaspoon baking powder, ½ teaspoon salt, 1 ½ cup milk chocolate chips
- Mix in by hand with a large mixing spoon.*If the cookies are still ‘too wet’ and not the right texture (as shown) add a little more flour.
- Drop by teaspoonful onto an ungreased cookie sheet. You could also use parchment paper.* These do not spread very much, so you can get up to 16 cookies on a 9×13 baking sheet.
- Bake cookies at 350 degrees F / 176 degrees C for 10-12 minutes or until golden brown on the bottom.*12 minutes was perfect for me!
- Let them sit on baking sheet for 2-3 minutes, then move to a wire rack to cool.
Notes
- Use quick oats for best texture: Quick oats absorb more liquid than old-fashioned oats, helping the cookies hold together better and spread less. If you only have old-fashioned oats, give them a quick pulse in a food processor.
- Don’t overmix the dough: After creaming the butter, sugar, and eggs, gently stir in the remaining ingredients by hand. This helps prevent the cereal from getting crushed and keeps the cookies light and crispy.
- Measure flour correctly: Too much flour can make cookies dry. Use the spoon-and-level method-spoon flour into your measuring cup and level it off with a knife instead of scooping directly from the bag.
- Chill the dough (optional): If you have time, chill the dough for 20-30 minutes. This makes it easier to scoop and helps the cookies keep their shape better during baking.
- Use a cookie scoop for uniform size: A small cookie scoop ensures evenly sized cookies that bake consistently. If you don’t have one, use a rounded teaspoon.
- Bake one tray at a time: For even baking, bake cookies one sheet at a time in the center of the oven. If baking two trays, rotate them halfway through and switch racks.
- Test your oven temperature: If your cookies are browning too quickly or taking longer than 12 minutes, consider using an oven thermometer. Oven temps can be off by 10-25 degrees!
- Let cookies rest before moving: Let them cool for 2-3 minutes on the baking sheet before transferring to a rack. This helps them firm up and prevents breaking.
- Adapt to your climate: In dry climates, you may need slightly less flour; in humid climates, you might need a bit more. Start with the amount listed, then adjust as needed if the dough is too wet or too stiff.
